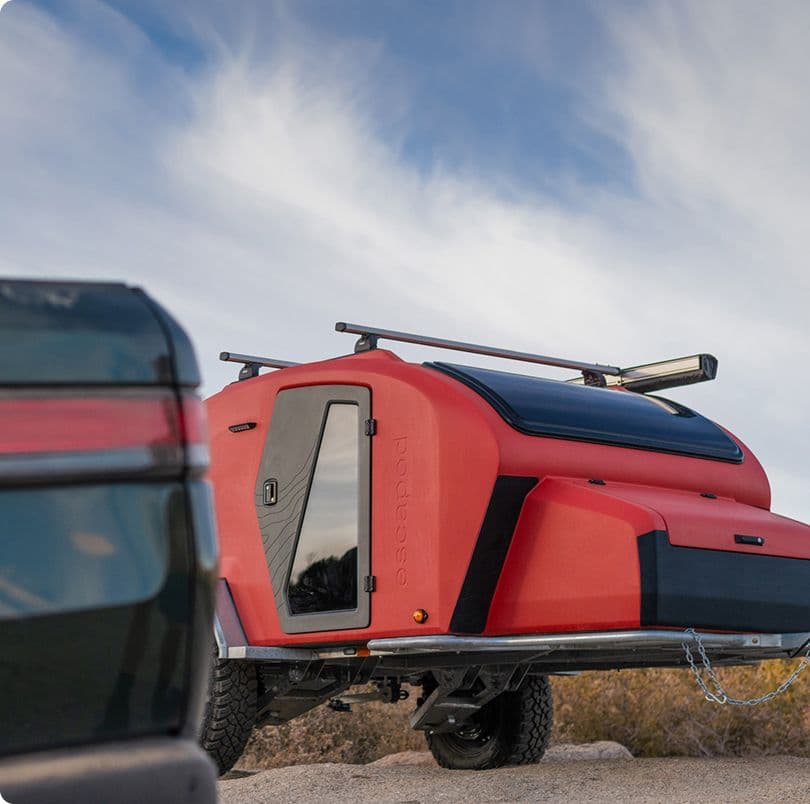
We originally contrived the vision for TOPO2 when the intent to build our trailers faster transformed into an obsession with how to build them better. The build process for TOPO2 is unlike anything we’ve done before. If you’re curious as to what goes into building an Escapod TOPO2, teardrop trailer, read on and we will cover this step by step!
Fabrication
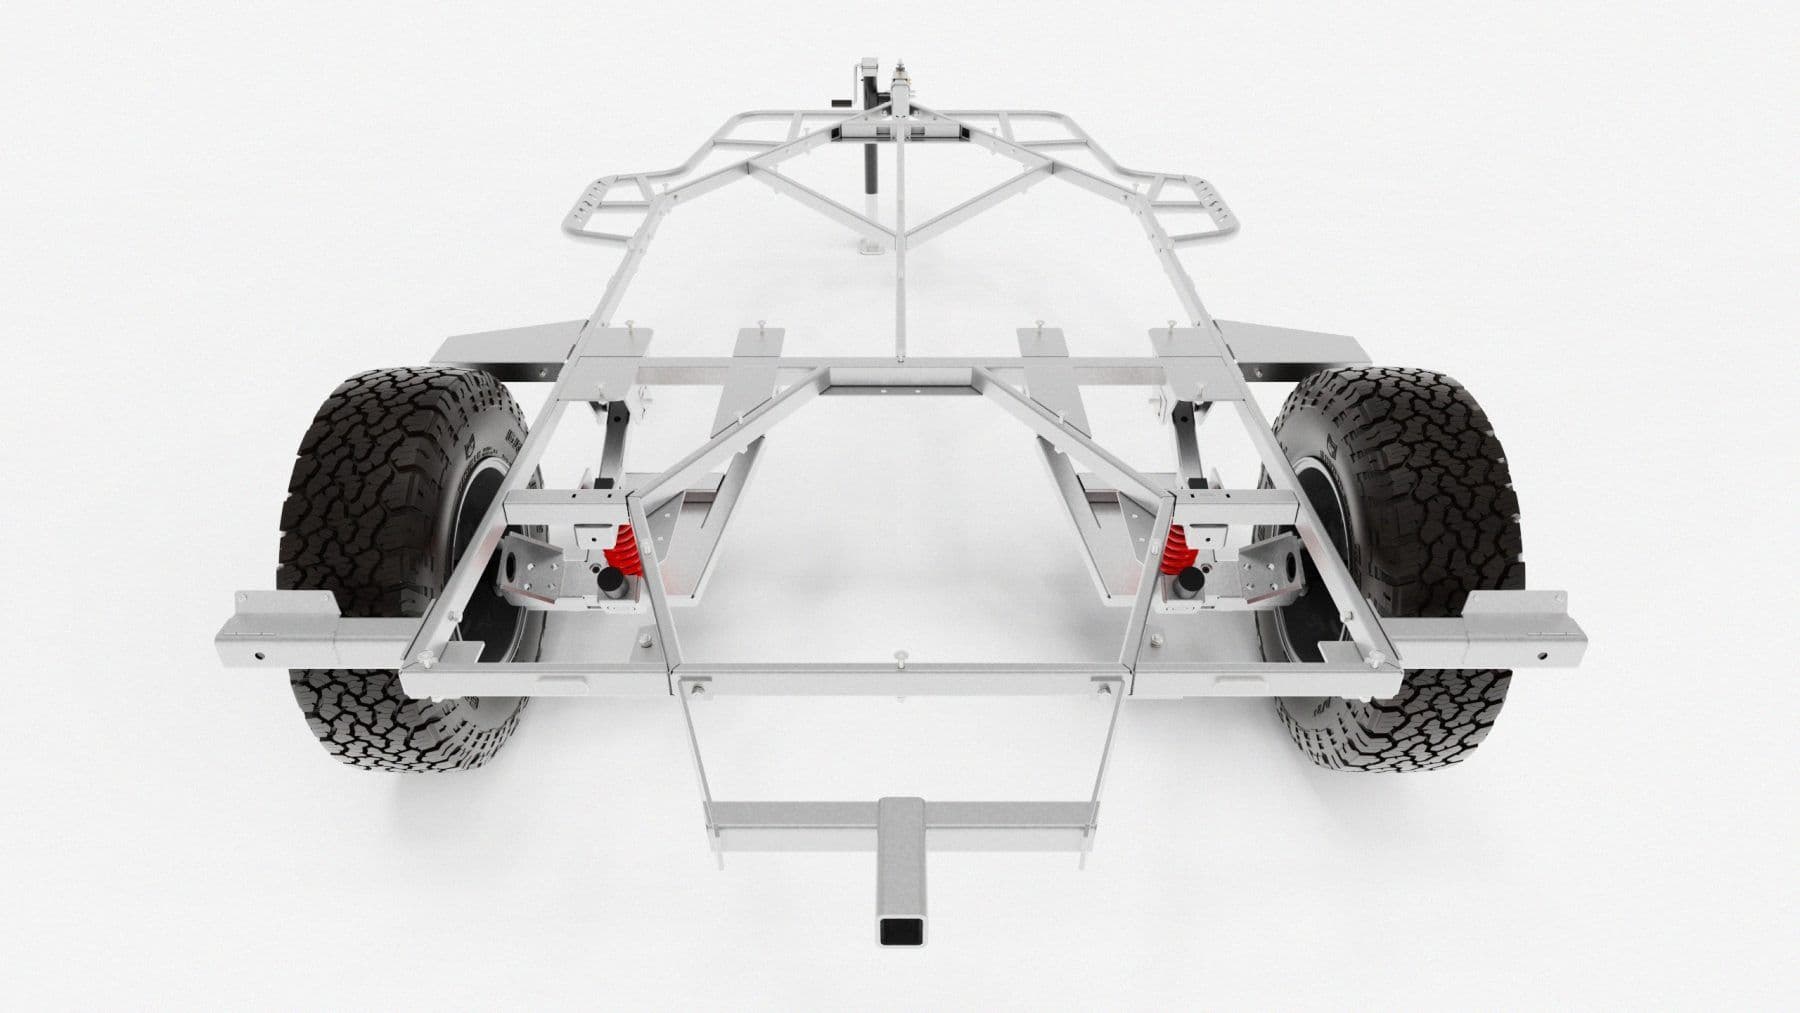
The first step in building an Escapod, teardrop camper is the trailer frame. For TOPO2, we were able to significantly lighten our frame by switching from the 2" x 2" laser-cut steel from the Original TOPO frame to 2” x 1” steel. Structural integrity remained intact following this change because the fiberglass floor provides so much additional stiffness. Ultimately, this switch saved us 300 pounds.
Once we complete the welding at our shop in Coalville, we send the trailer frames down to Salt Lake City for the galvanization process. Galvanization is a chemical process in which our frames are immersed in molten zinc, ensuring that the steel will stand up to the elements over time. We’ve found that galvanization is a more durable finish than the powder-coated steel of days past.
TOPO2 Body
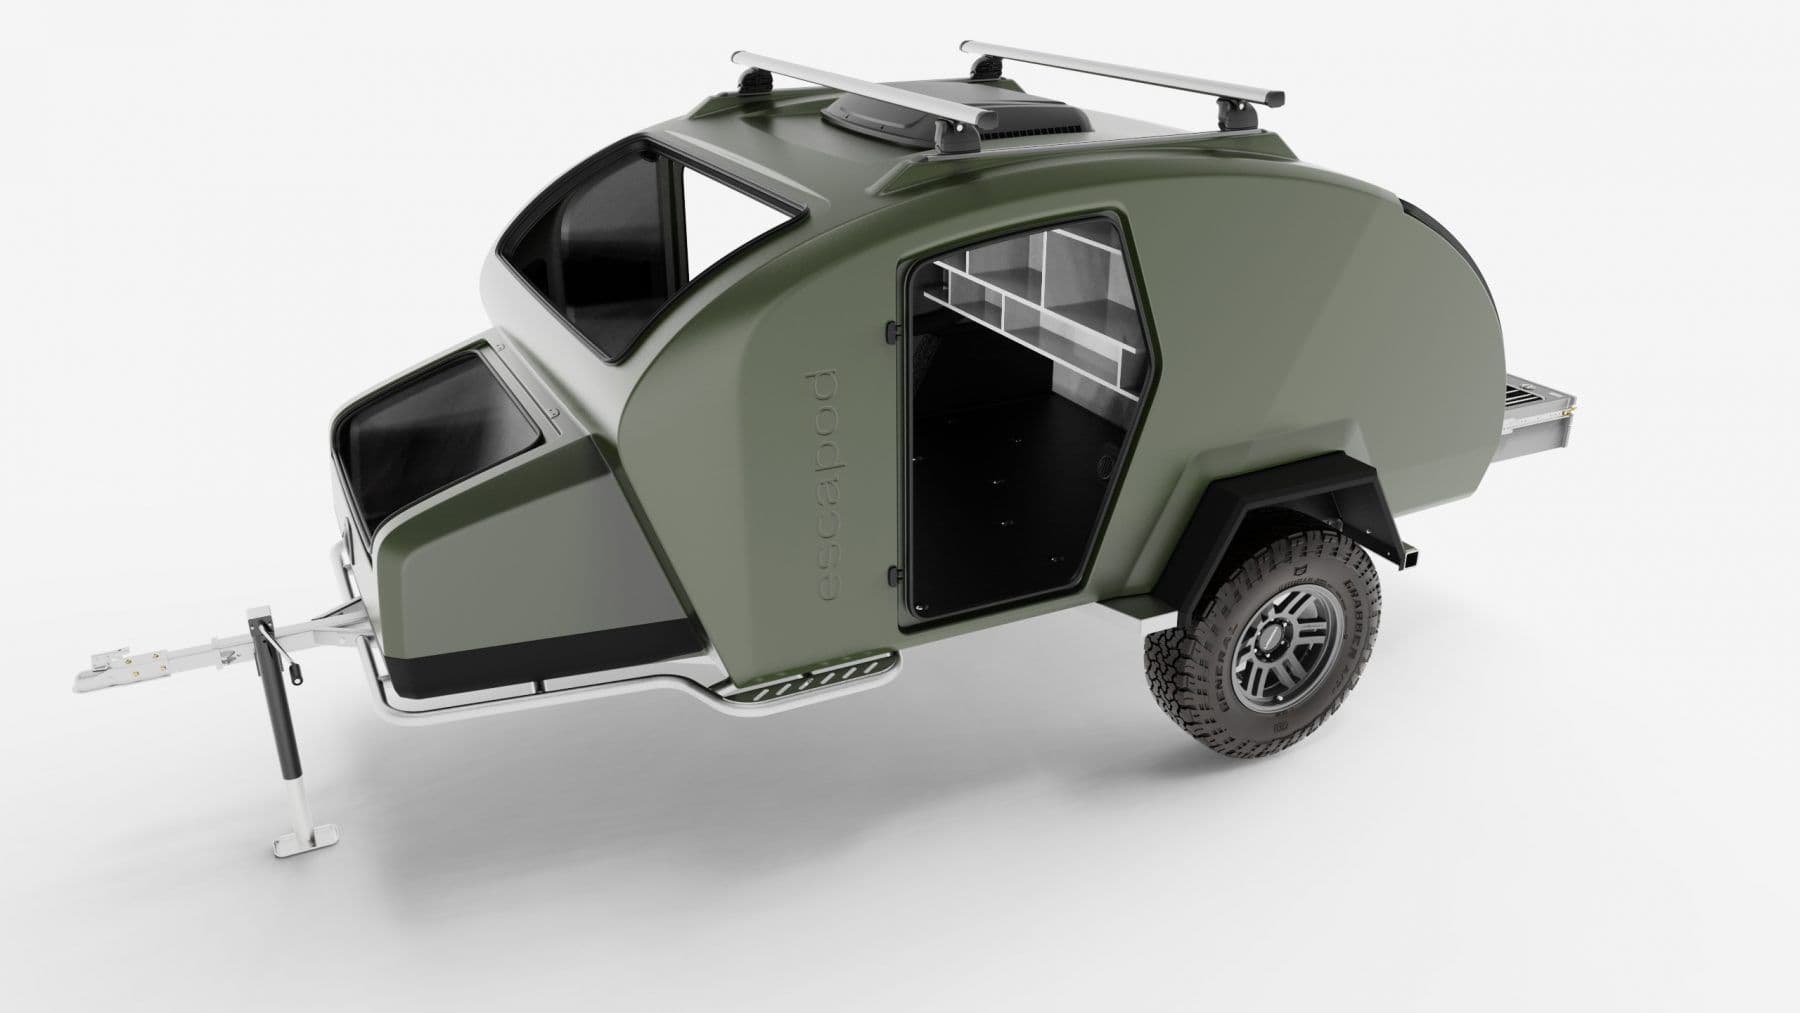
While the frame is being fabricated, technicians simultaneously construct the composite body for our small camper. We wanted to create a body for TOPO2 that was lighter and more heavy duty than our Original TOPO camper trailers. With these goals in mind, our engineers decided on a fiberglass/composite body using the infusion method of molding.
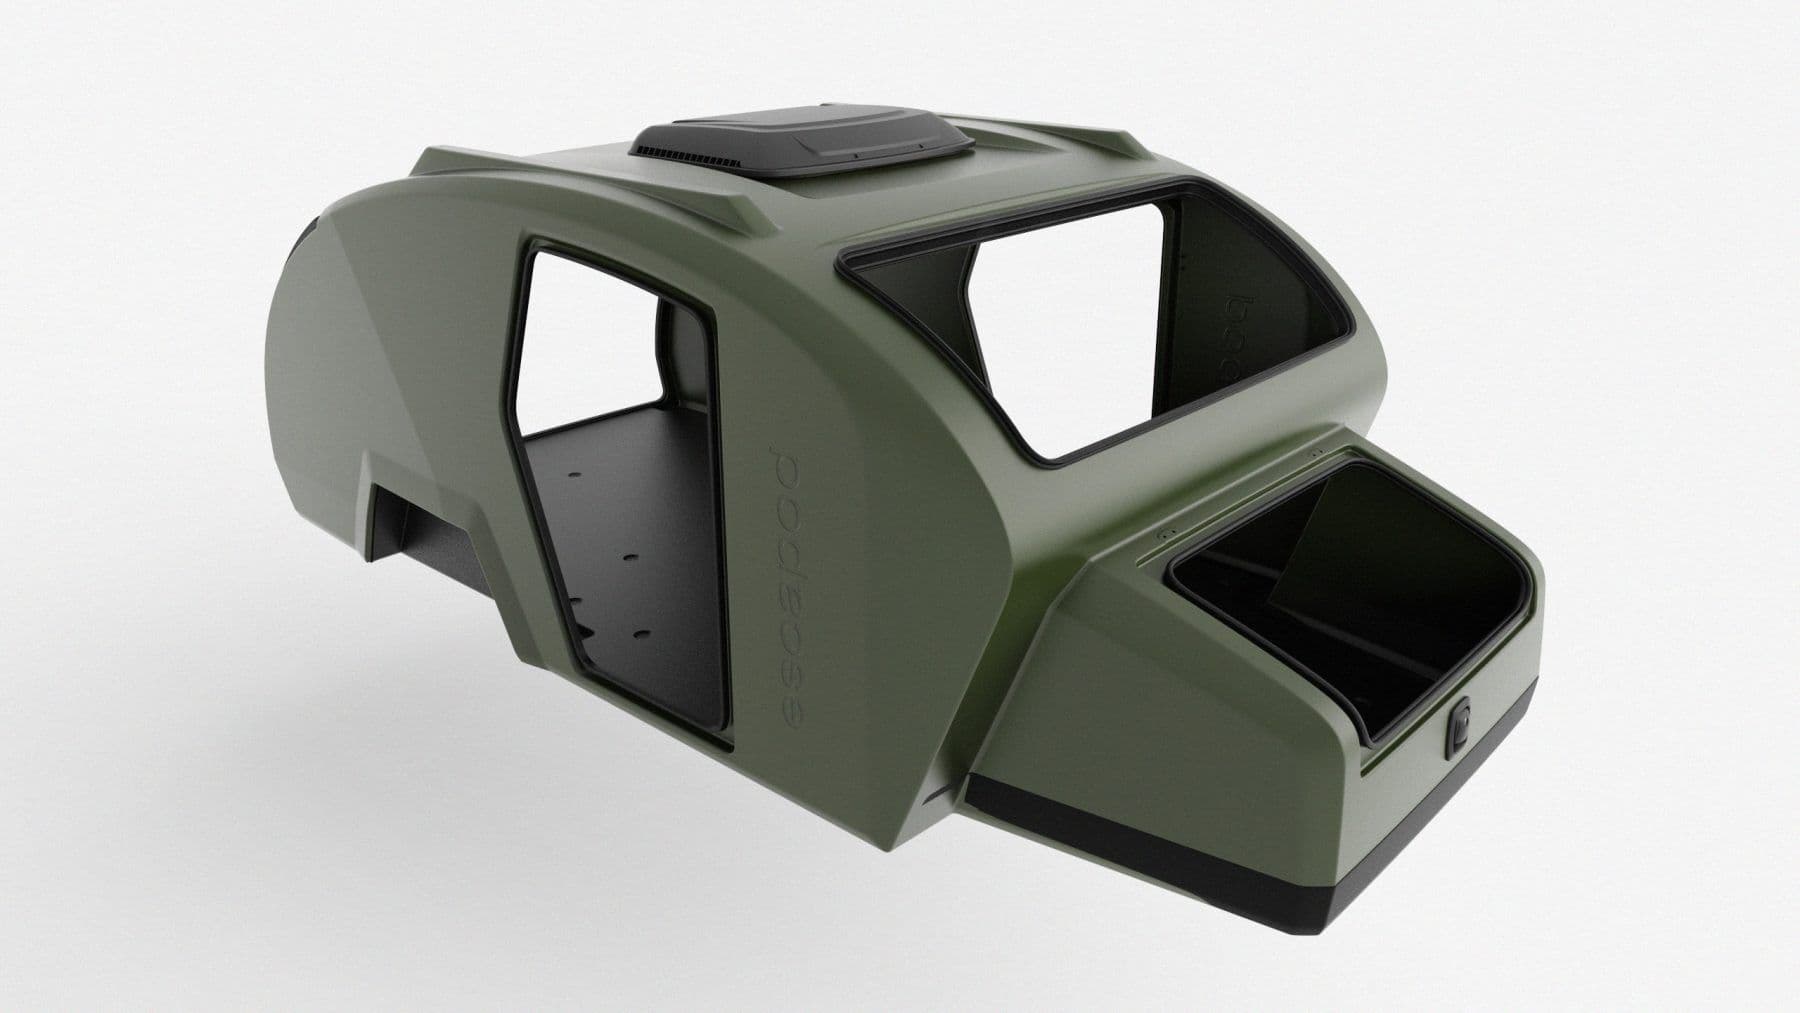
This process leads to increased precision and allows for even saturation of the epoxy resin. Just what we were looking for! Infusion allows us to place other materials within the lay-up, like integrating our unique recycled PET core into the body structure. If you’d like to learn more about that process in detail and why we chose this method, check out our How the TOPO2 Body is Made blog.
CNC/Assembly
At Escapod, we have a portion of our manufacturing facility dedicated specifically to CNC (“computer numerically controlled”). CNC is a way to automate the control of machining tools by means of a computer. Basically, our CNC machine is a large, automated router used to cut out pieces for our trailer construction.
As we are welding the frame and fabricating the body, our CNC shop prepares the materials. These materials include birch, HDPE, and honeycomb composite subassemblies for the cabinet and galley structure. This team is also responsible for writing CNC files, cutting materials on the CNC machine, performing woodworking by finishing the raw edges, and finally assembling the galley, cabinet, and headboard structures before installing them into the trailer.
Depending on the trim level selected either Voyager and Nomad, the CNC cut files and assemblies will begin to vary at this stage of the build.
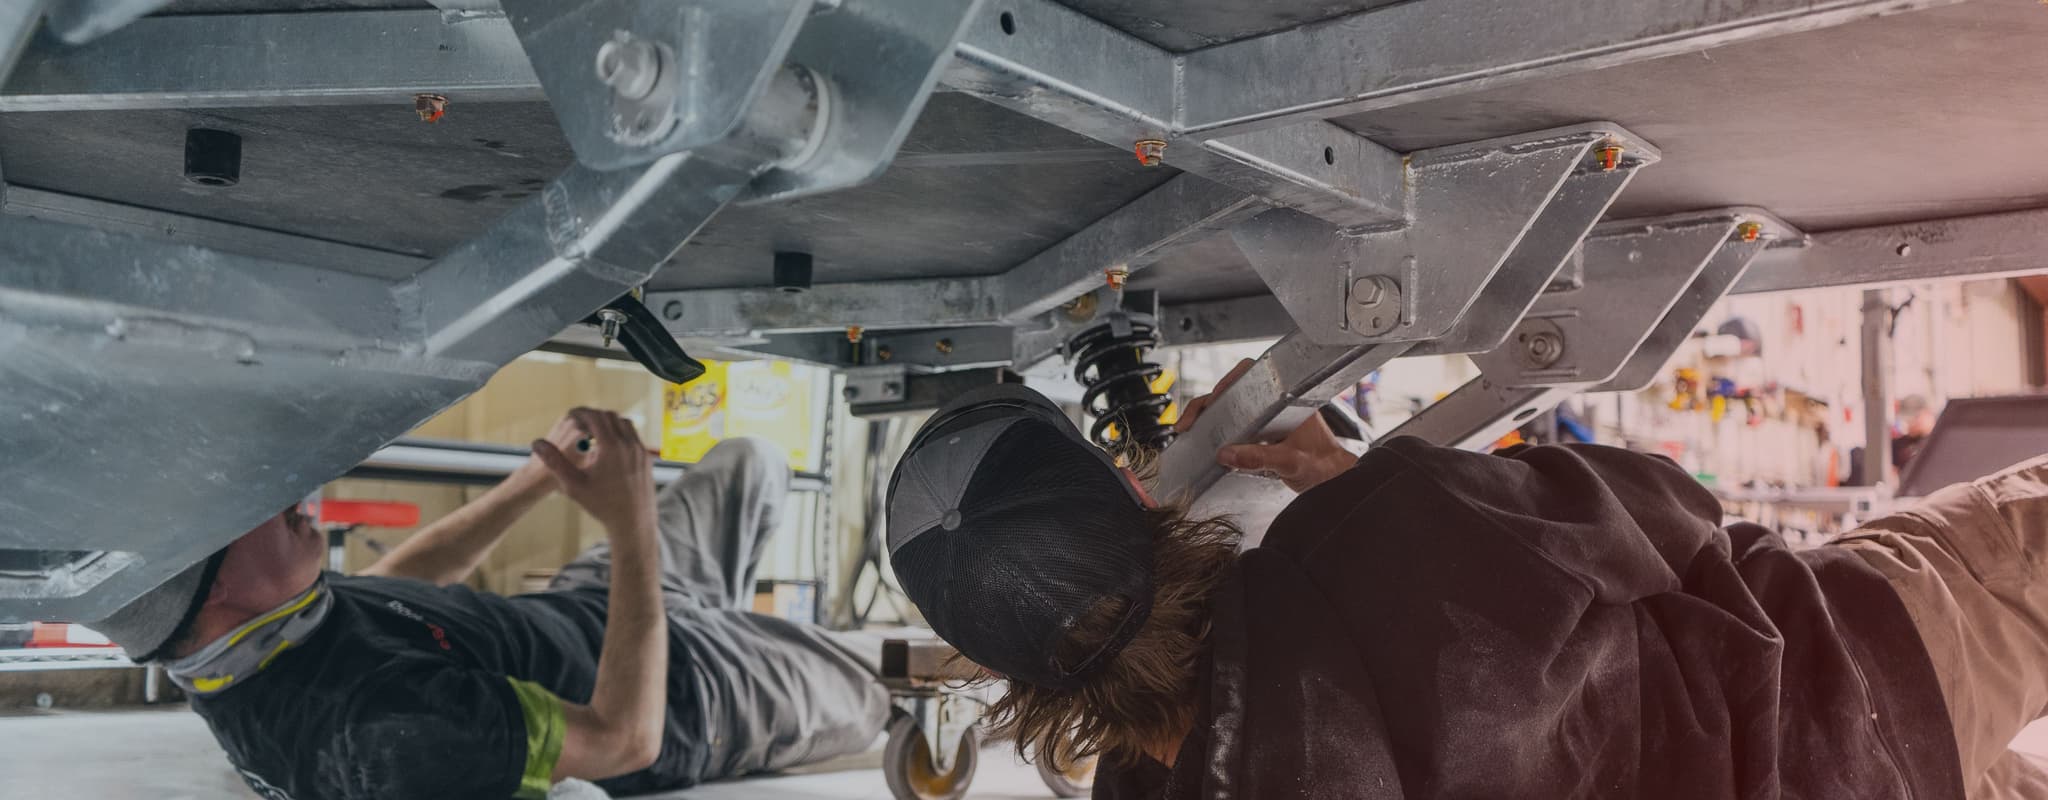
Main Shop
The main shop is where all the pieces finally come together and the TOPO2 takes its final shape!
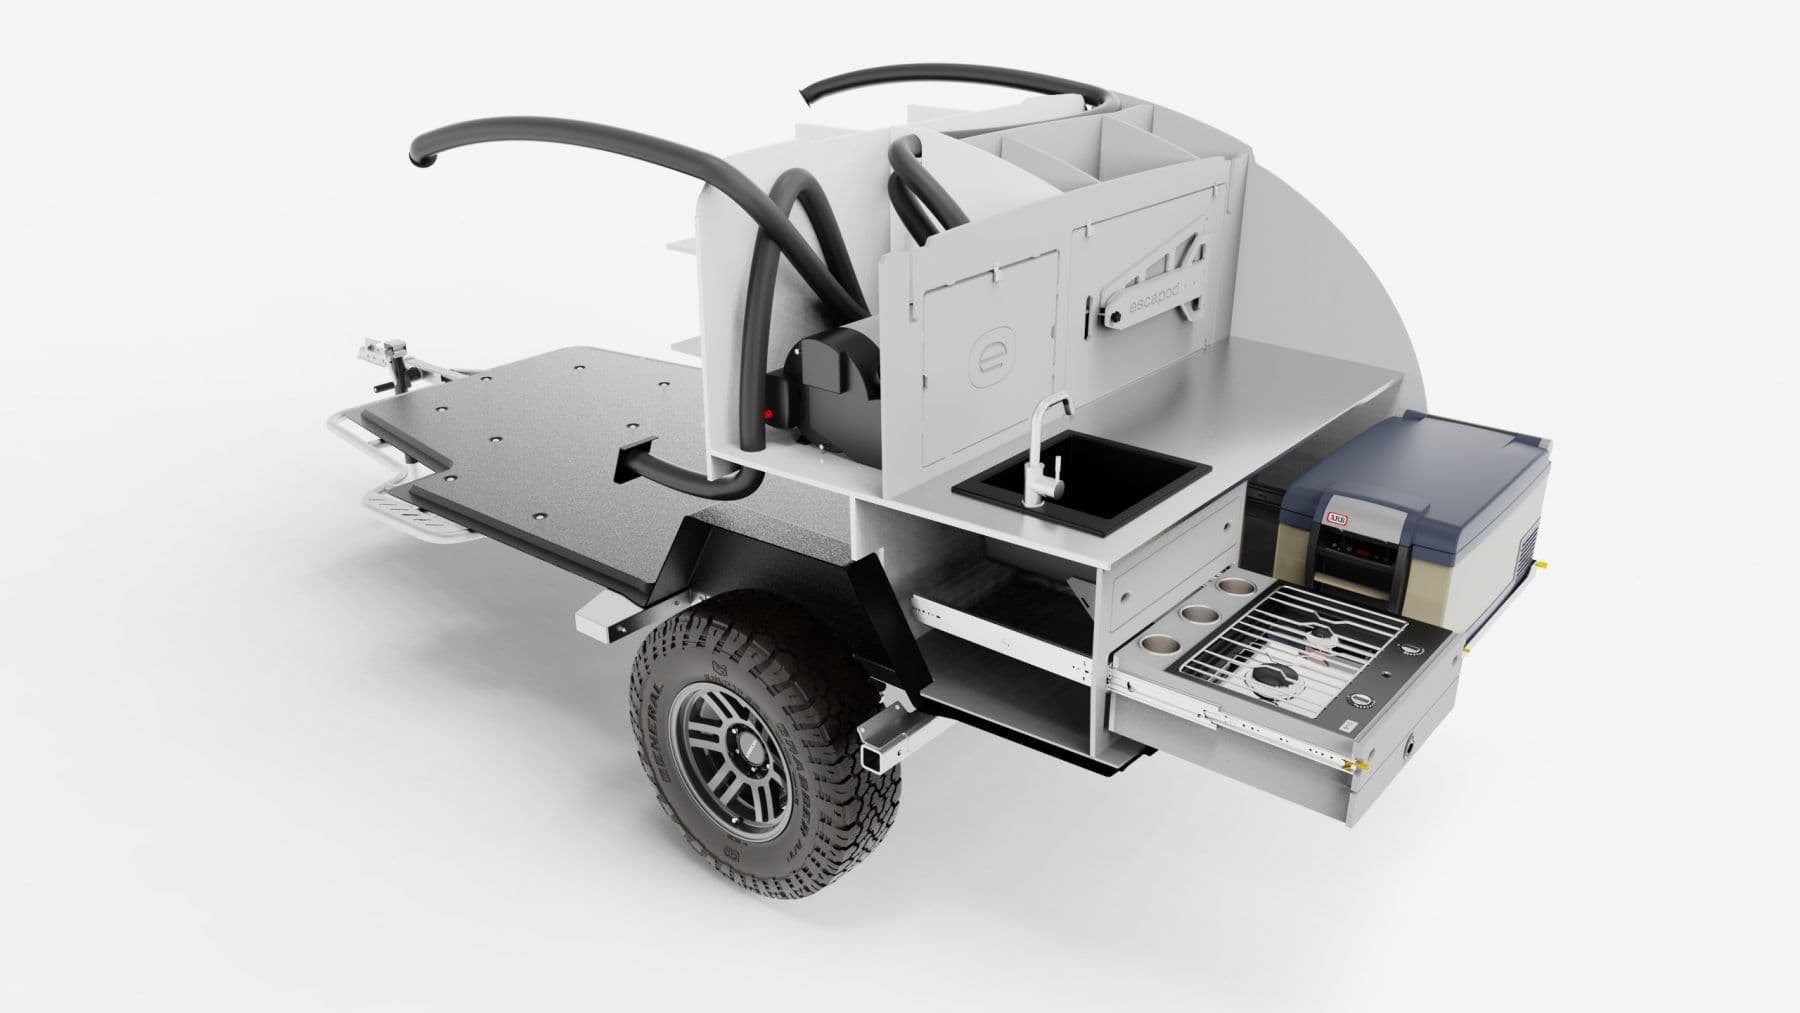
One key difference between the Original TOPO & the TOPO2 is that we fully assemble the cabinet structure outside of the body with premiere craftsmanship in mind. The cabinet structure will include all storage space for the cabin and galley, installing our stove, drawers, countertops, sinks, electrical, and more. Once assembled, the TOPO2 body is dropped down overtop the cabinet structure which is resting on the ground. The team then joins the two parts together through the sidewall to connect them securely.
When the frames come back from galvanization, we move them into the main shop where we bolt the floor to the frame. At this point, we raise the conjoined body and cabinet/galley structure and place it onto the TOPO2 floor. Next, our craftsmen bond the body to the composite floor. This is a very critical step in the build process. Because we attach the body to the floor with an incredibly powerful quick-drying adhesive, there's little room for error. This particular step is very high stakes - there’s no going back! Our engineers spent many weeks designing a mechanical process to ensure a perfect placement every time.
For the first time, our team completes a dry fit, with no adhesive, to line up the frame and body correctly. Then they lift the body ever-so-slightly, apply the adhesive to the floor, and then lower the body to be bonded. The adhesive hardens within 20 minutes, hence the need for precision every time! Our engineering team worked to test 6 different kinds of chemical adhesives to find the best fit for our composite structure. In addition to finding the perfect chemical blend, they tested bond thickness which is also crucial to the bonding process. In the end, the bond is one of the strongest parts of the entire trailer.
Fit & Finish
Now that we've completed the adhesion process, our team can kick off the final stages of the build. Using jigs created by our Engineering team, they’ll begin by getting the remaining cabin elements dialed. The team will install the headliner, headboard, nightstands, door trim, door latches, and gaskets. While working on those cabin elements, our craftsmen will also be working on the tongue box. They’ll install the tongue box liner, mount the L-tracks, and secure the propane tank.
Once the interior is in tip-top shape, the team moves ahead installing the doors, rear hatch, and stargazer window. Next, the team will install the final galley components. This includes applying any necessary caulking and installing the cutting board, water tank separation panel, drawers, and table.
Afterward, those bolt-on exterior features will be installed. This includes the side hitch receivers, steps, fenders, hinges, and roof rack rails.
As the final assembly step, the team will add wheels and any additional add-ons/accessories, such as rock rails, a second awning, an annex room, etc. To see an extensive, up-to-date list of all the add-on options we offer, you can always check out our TOPO2 Page!
Quality Control
Quality control is the final process for any off-road TOPO2 travel trailer by Escapod. In this stage, we put the camping trailer through a series of quality checks to ensure it’s ready to be handed off to its new owner! These checks include an extensive water test, verifying the suspension torque & alignment, full electrical tests, and a myriad of functionality checks. Once the trailer passes our testing, it gets a full detailed cleaning prior to the customer pickup.
A lot goes into building the best damn camper known to man. Hopefully, this overview gives you some insight into how we build a teardrop trailer here at Escapod. That said, this just scratches the surface! For a more up close and personal look at the TOPO2 build process, come see us in person! You can schedule a manufacturing shop tour here!
And if you are ready for your very own teardrop trailer by Escapod, start your order here and be out on your first road trip in no time!