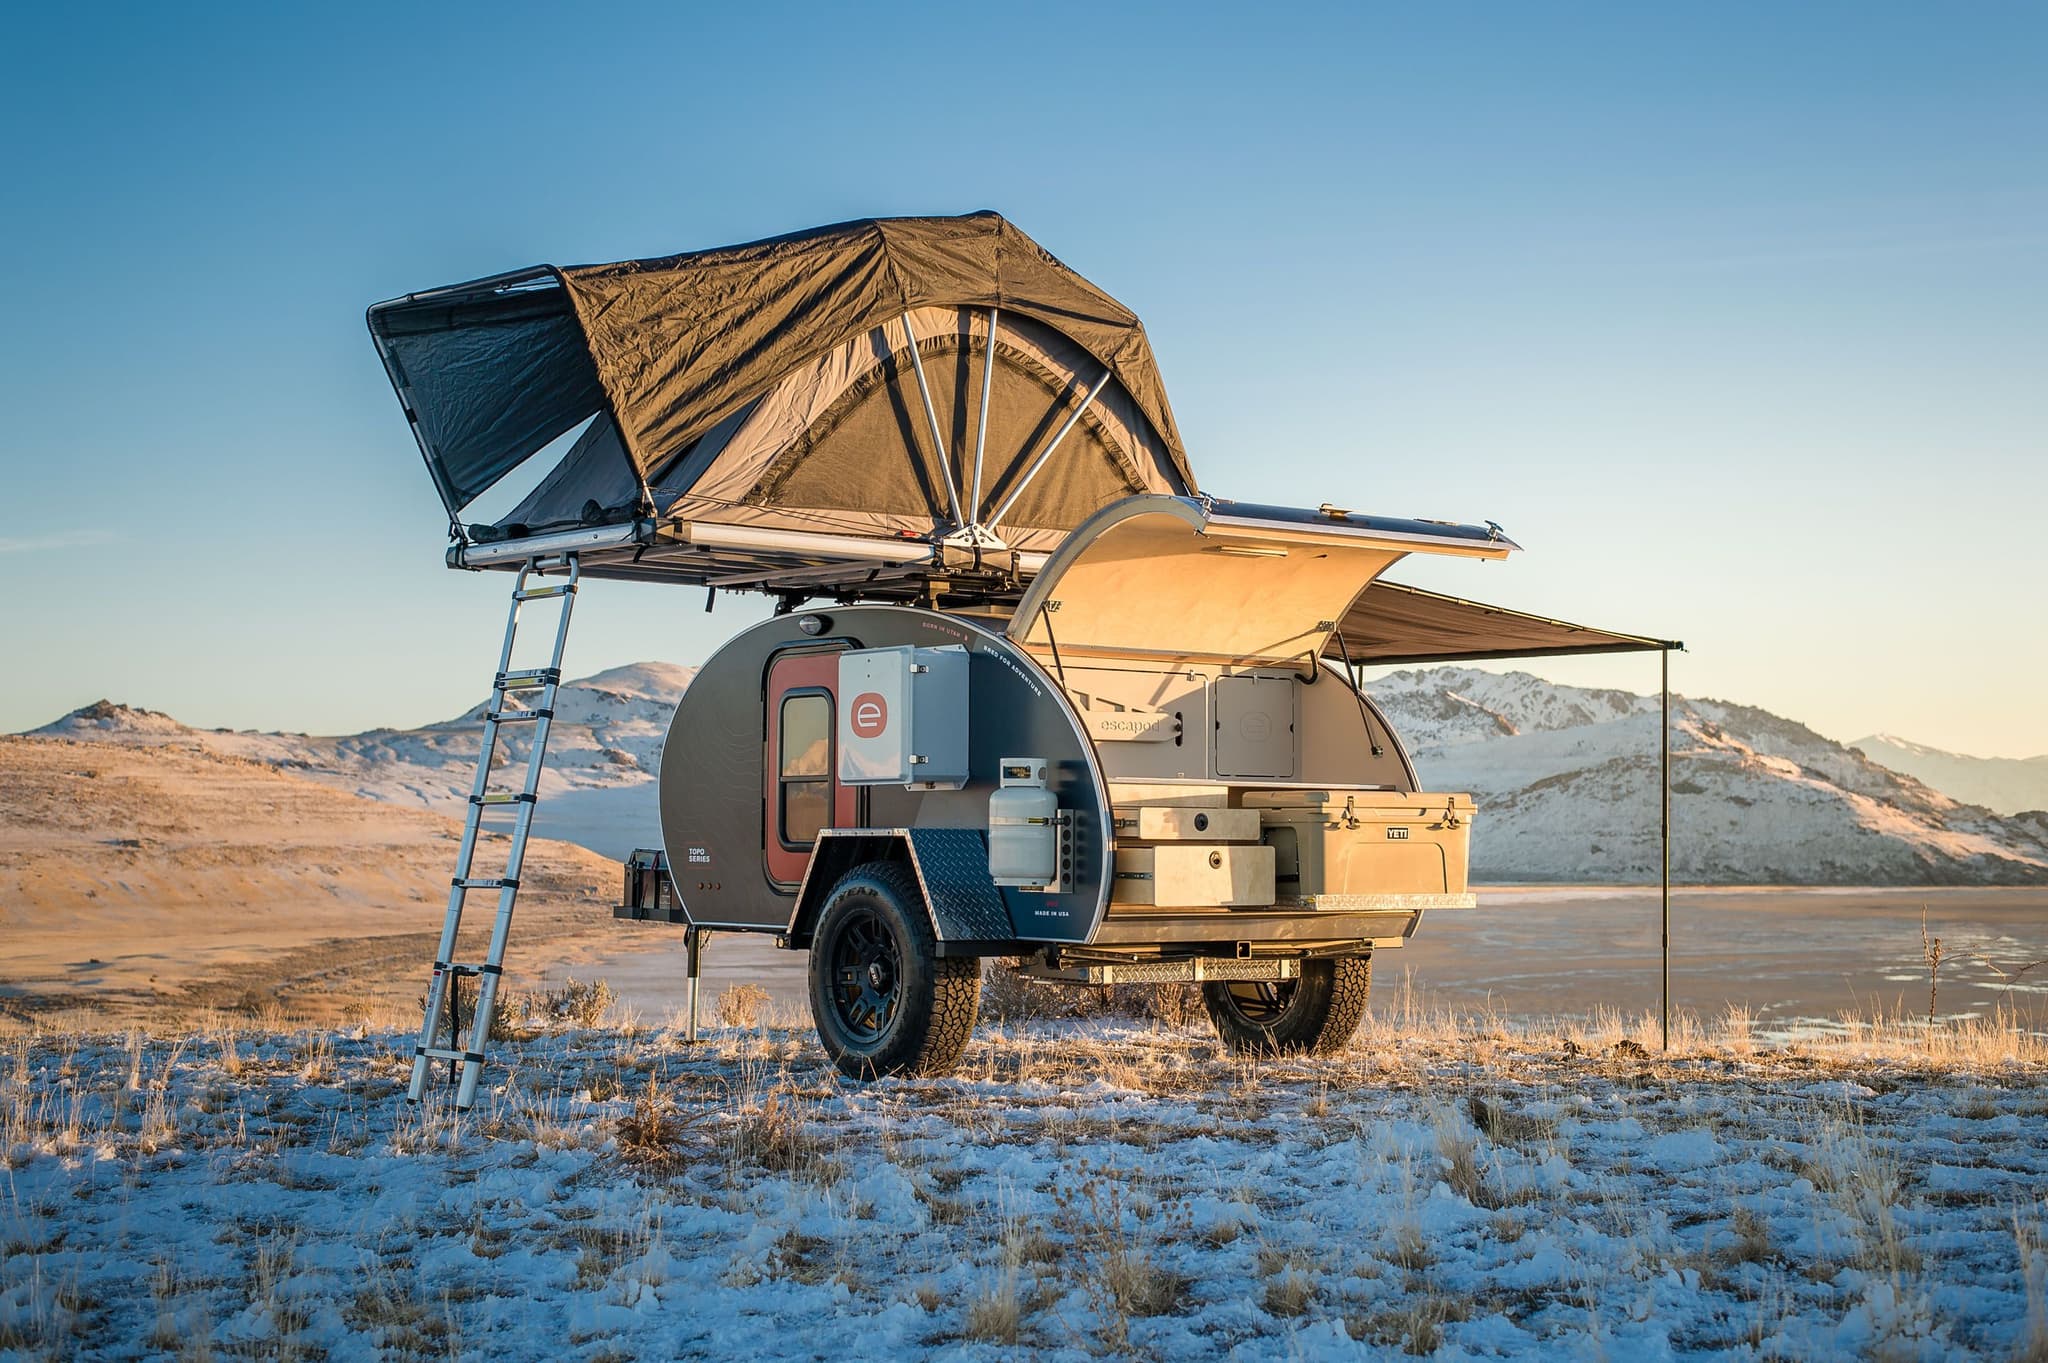
If you have an Escapod Original TOPO Series teardrop trailer with a water system, it’s important to prepare the system for winter. As temps drop below freezing, any water that is left in the plumbing lines or in the pump may freeze and expand, potentially causing damage. This damage will present itself as leaks come spring.
The following items require winterization if you have them on your Original TOPO Escapod:
- 21-Gallon Water Tank & Pump
- On-Demand Water Heater
- Fresair S7i Air Cooling Unit
Below, we’ve outlined the step-by-step process that you’ll need to follow to winterize the water system on your Escapod. Before you begin, you'll want to gather some materials.
What You'll Need
- 4 gallons of RV & Marine specific non-toxic antifreeze (we used Super Tech, found it at Walmart for ~$2/gallon)
- Large Funnel
- 10’ hose (this came with your Escapod)
- Trailer levelers (or a rock or curb available)

The hose & hand-crank come with your Escapod. The additional items will cost less than $10.
Water Tank & Pump - Drain
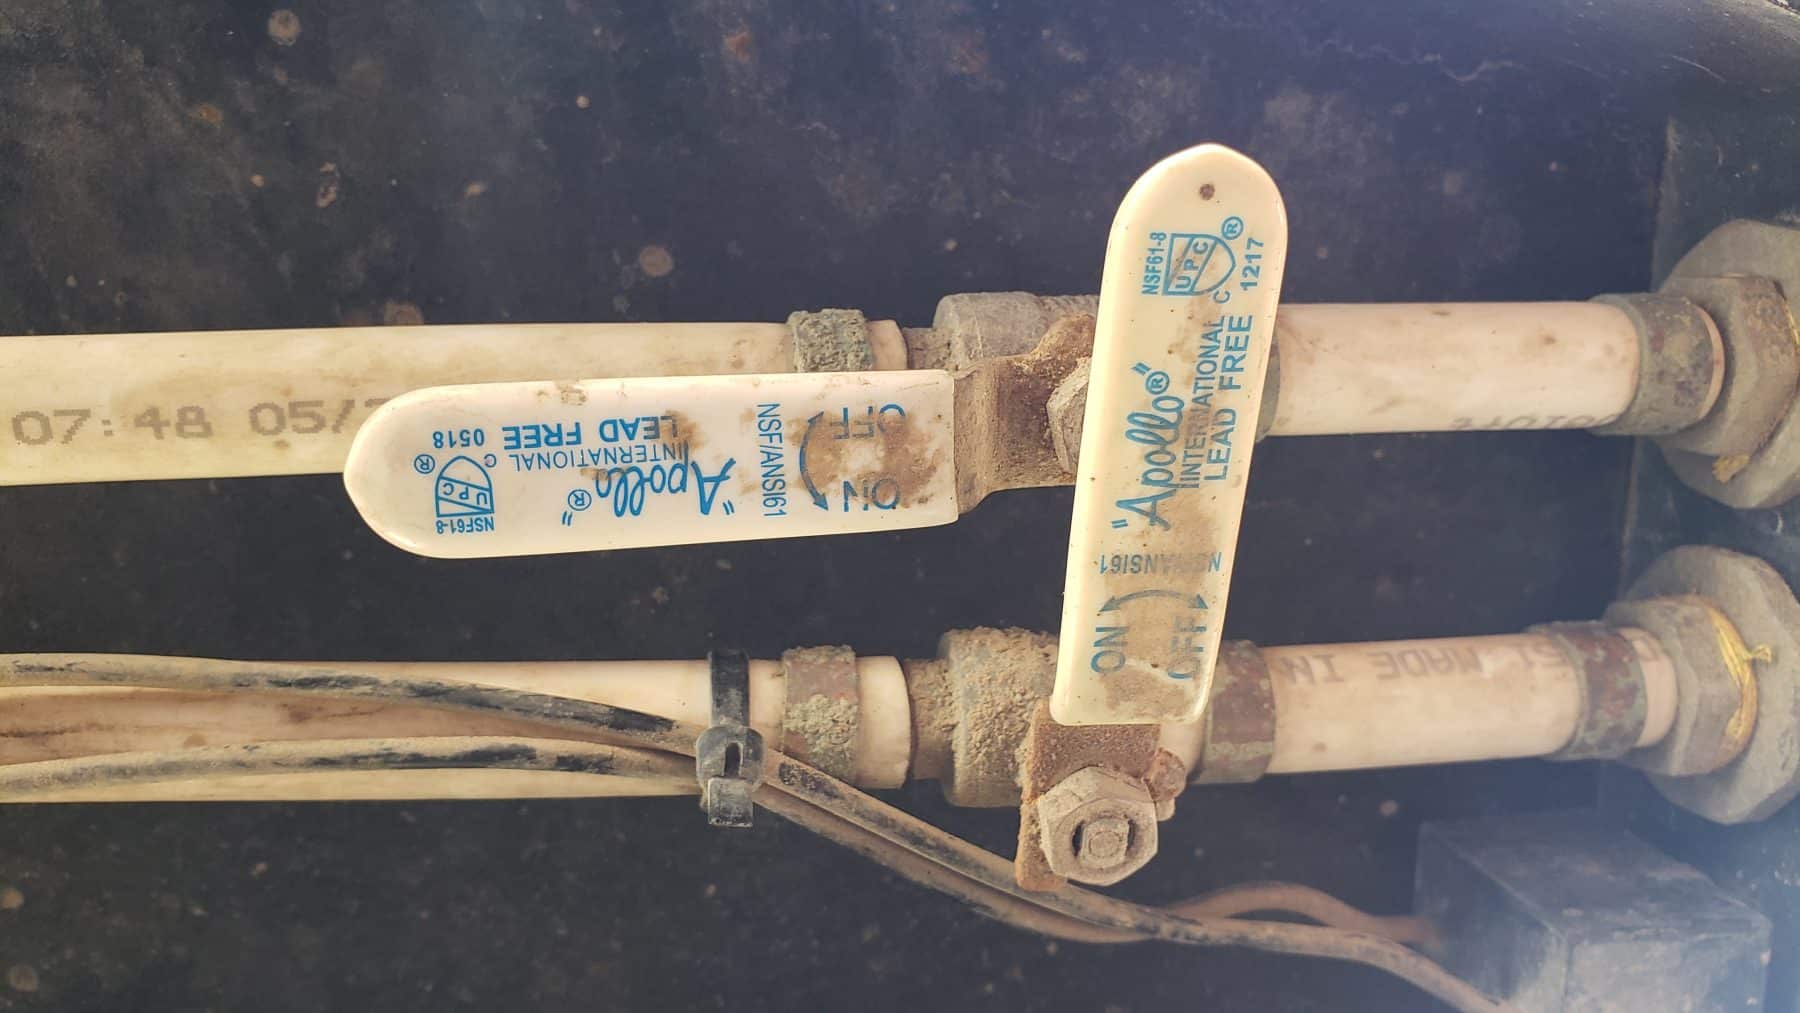
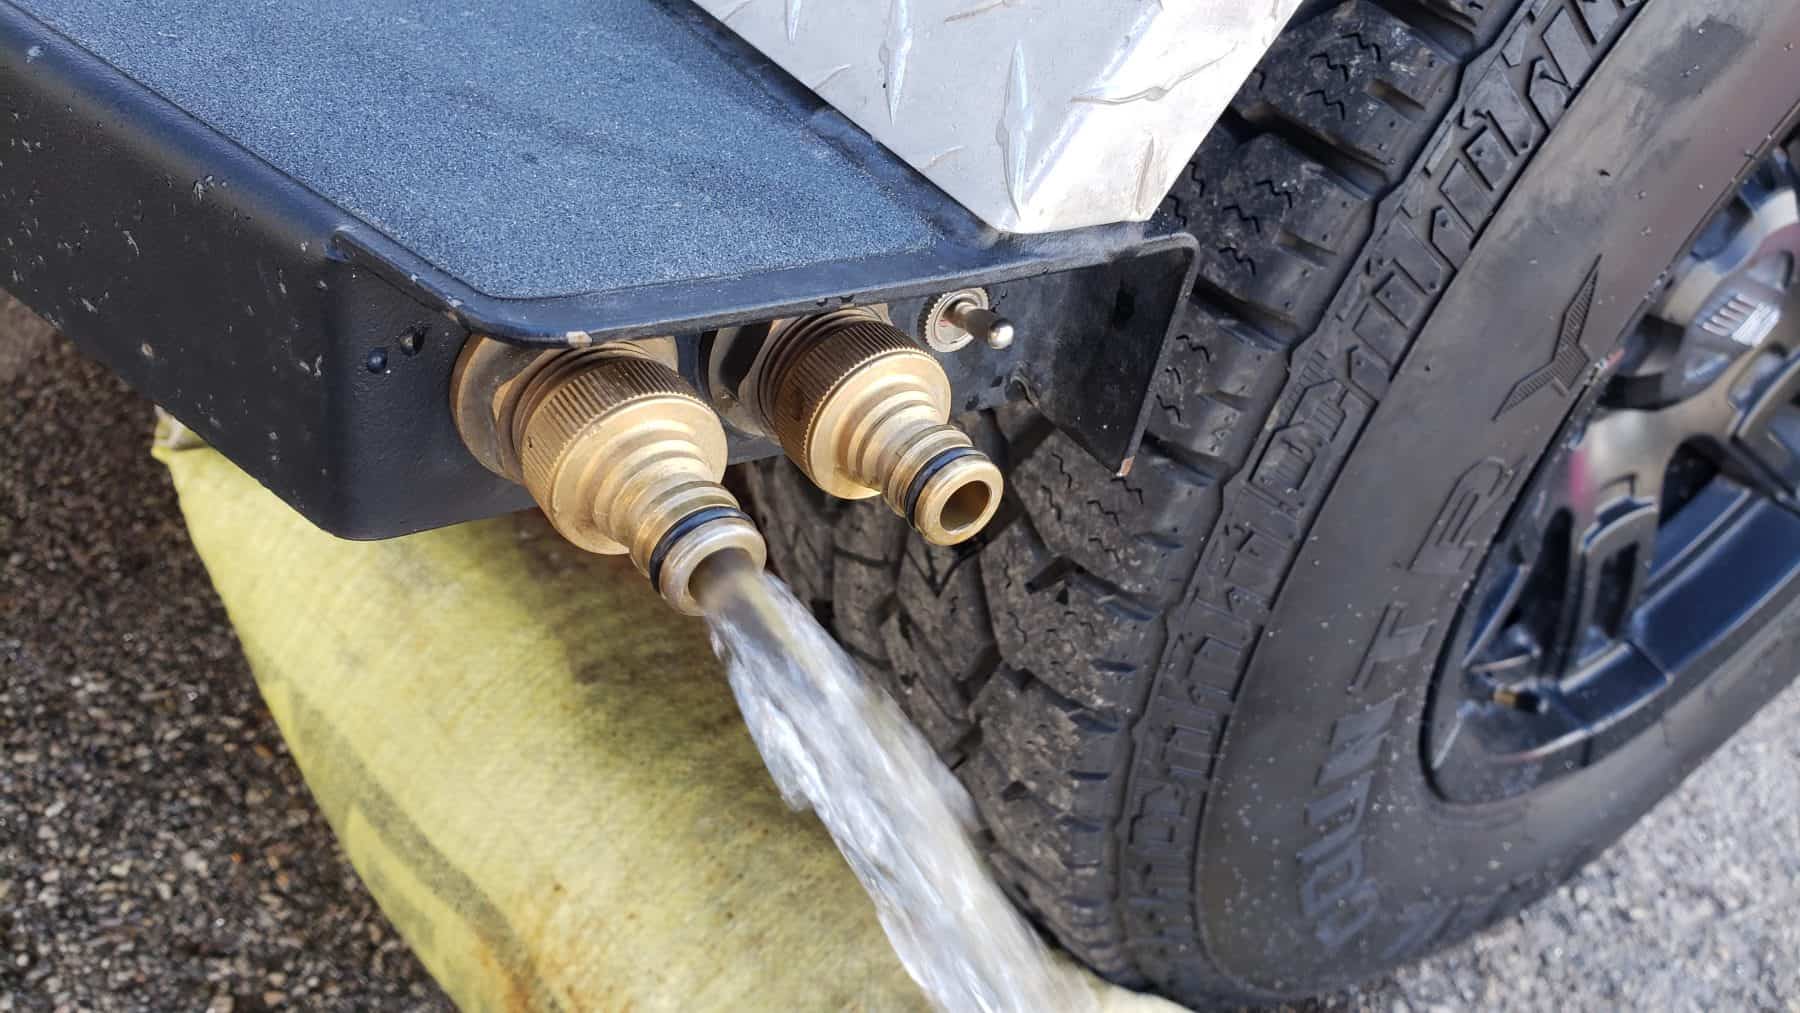
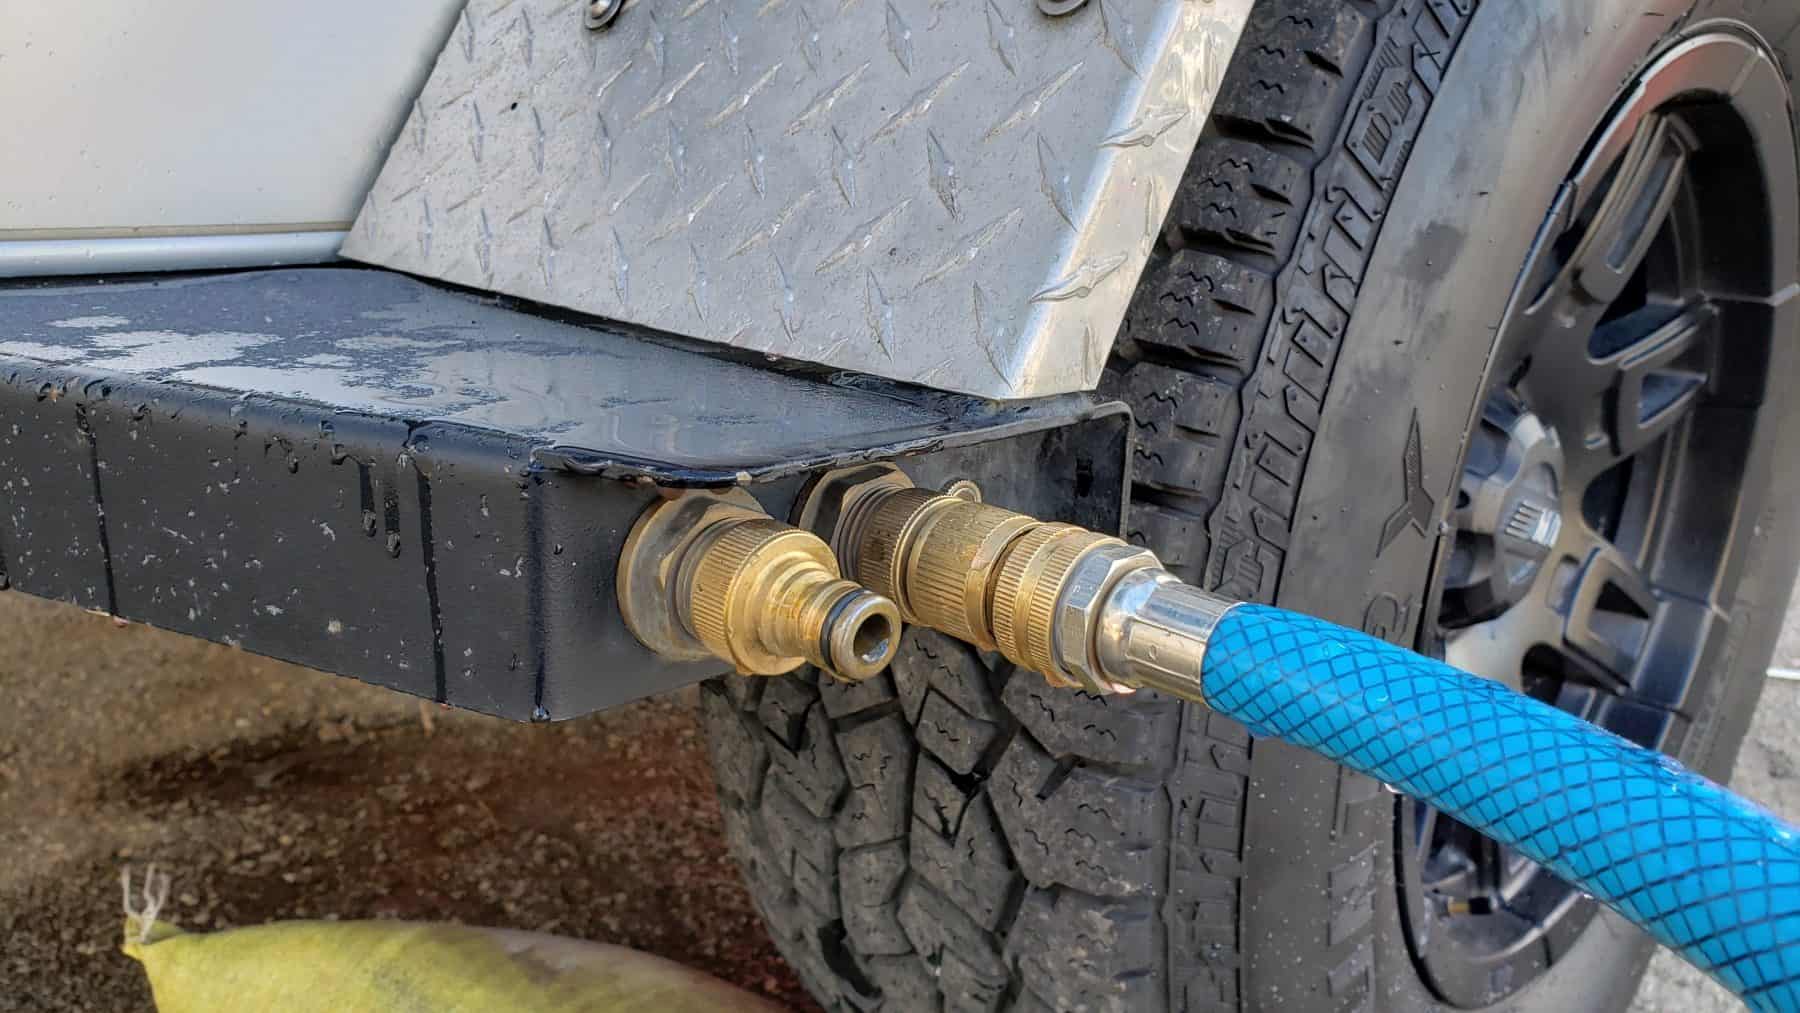
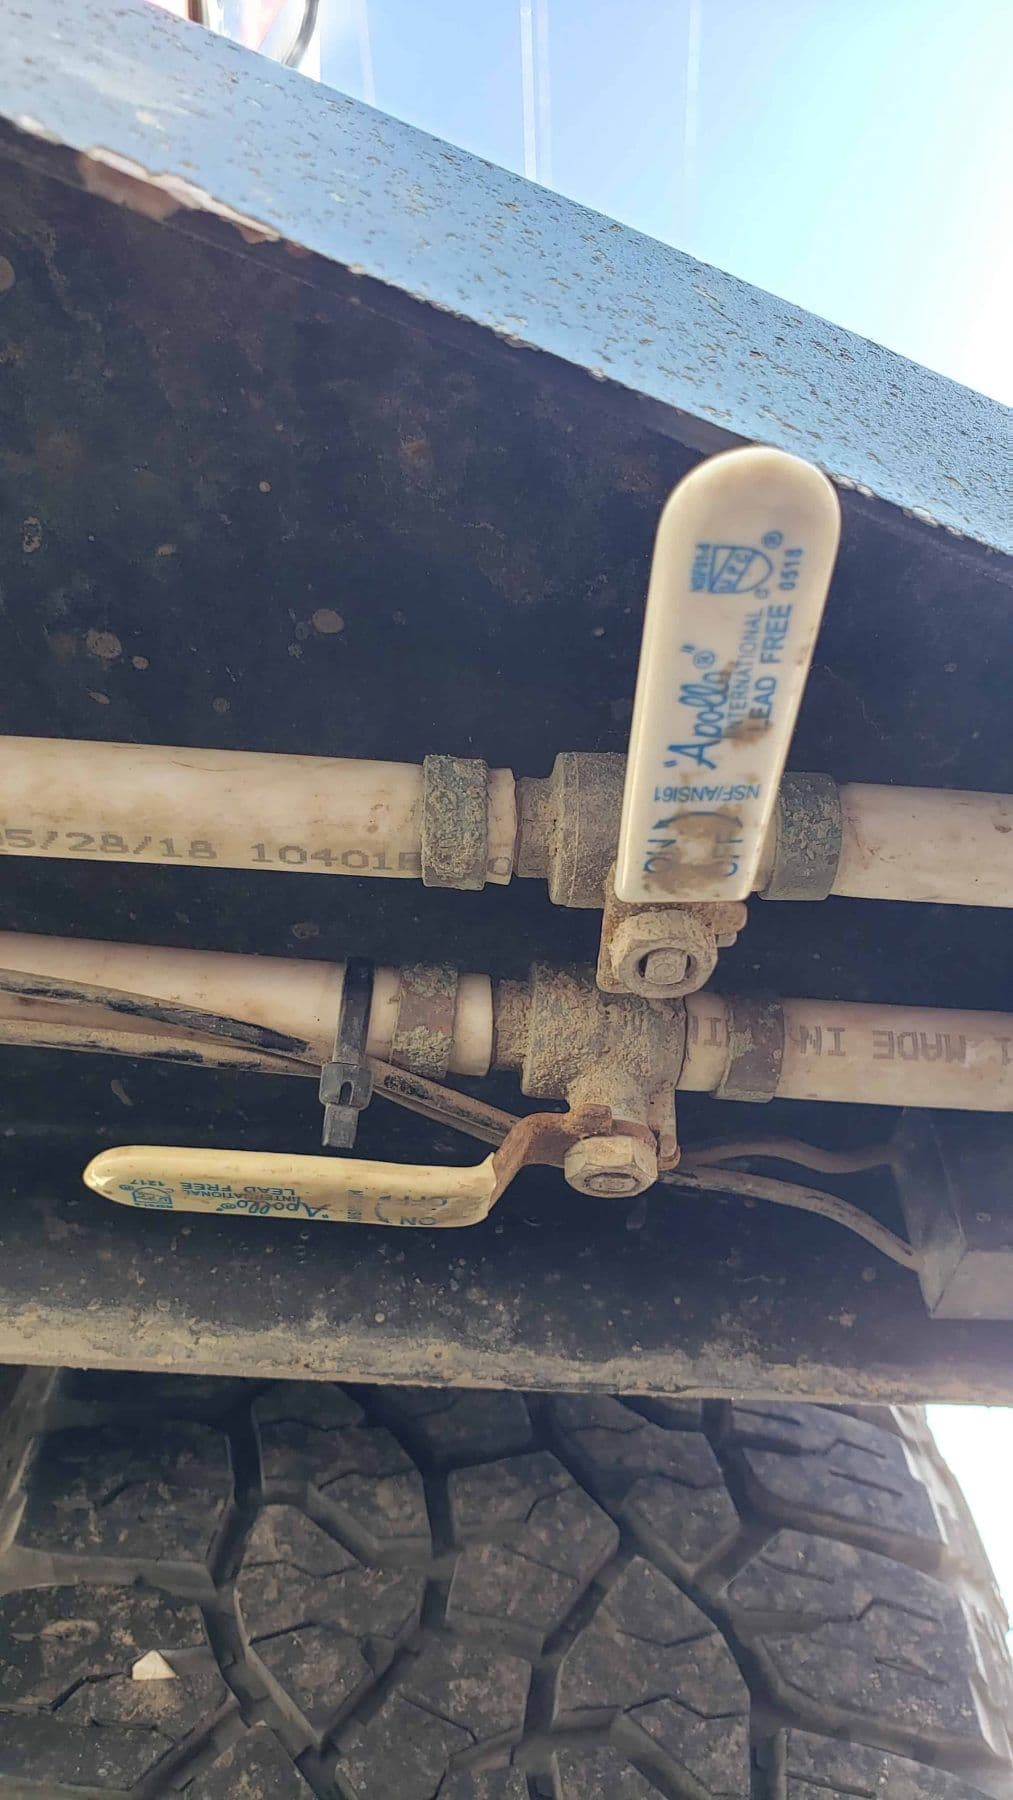
1. Open the output valve (looker's left side) and run the pump until the water flow decreases to a sputter.
2. Lift the side opposite the water output to raise the trailer with the trailer leveler (or drive one side up on a curb, rock, etc), thus allowing more water to flow out of the tank.
3. Keep the valve open with the pump on and lower the trailer down to its original position by driving back to level ground. At this point, no water should be exiting the output nozzle.
4. Close the output valve and turn off the pump.
Water Tank & Pump Winterize - Add the Antifreeze
1. Open the input valve (looker's right side) to the water tank.
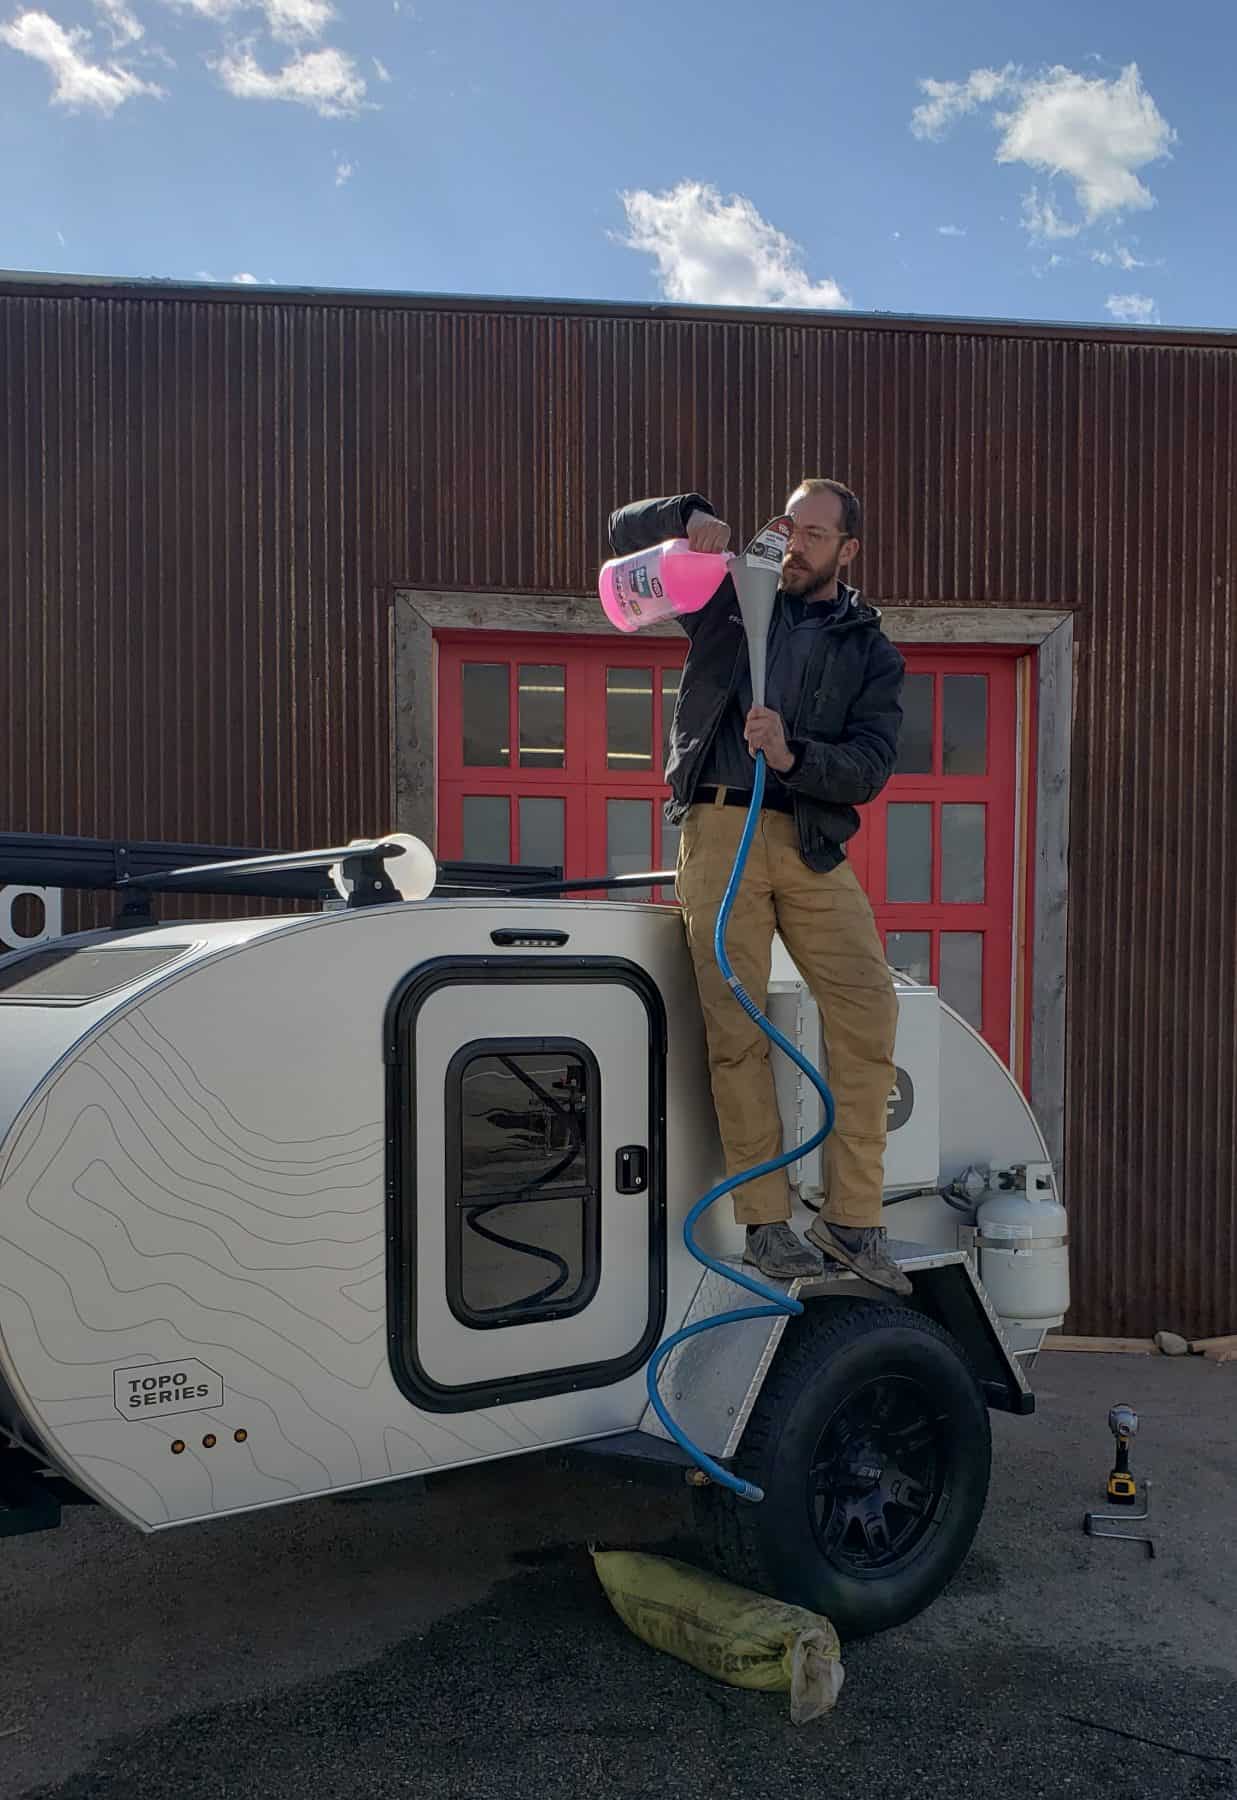
2. Secure one end of the hose to the input, and place the funnel in the other end. (See image below).
3. Slowly pour the antifreeze into the funnel and keep it elevated to gravity-feed it into the tank.
4. Once all 4-gallons are in the tank, remove the hose and close the input valve (right side).
5. Open the output valve (left side) and turn on the pump until the pink liquid begins to flow out. (If it doesn't flow, just lift up the opposite side of the trailer by using a trailer leveler or a rock or curb!).
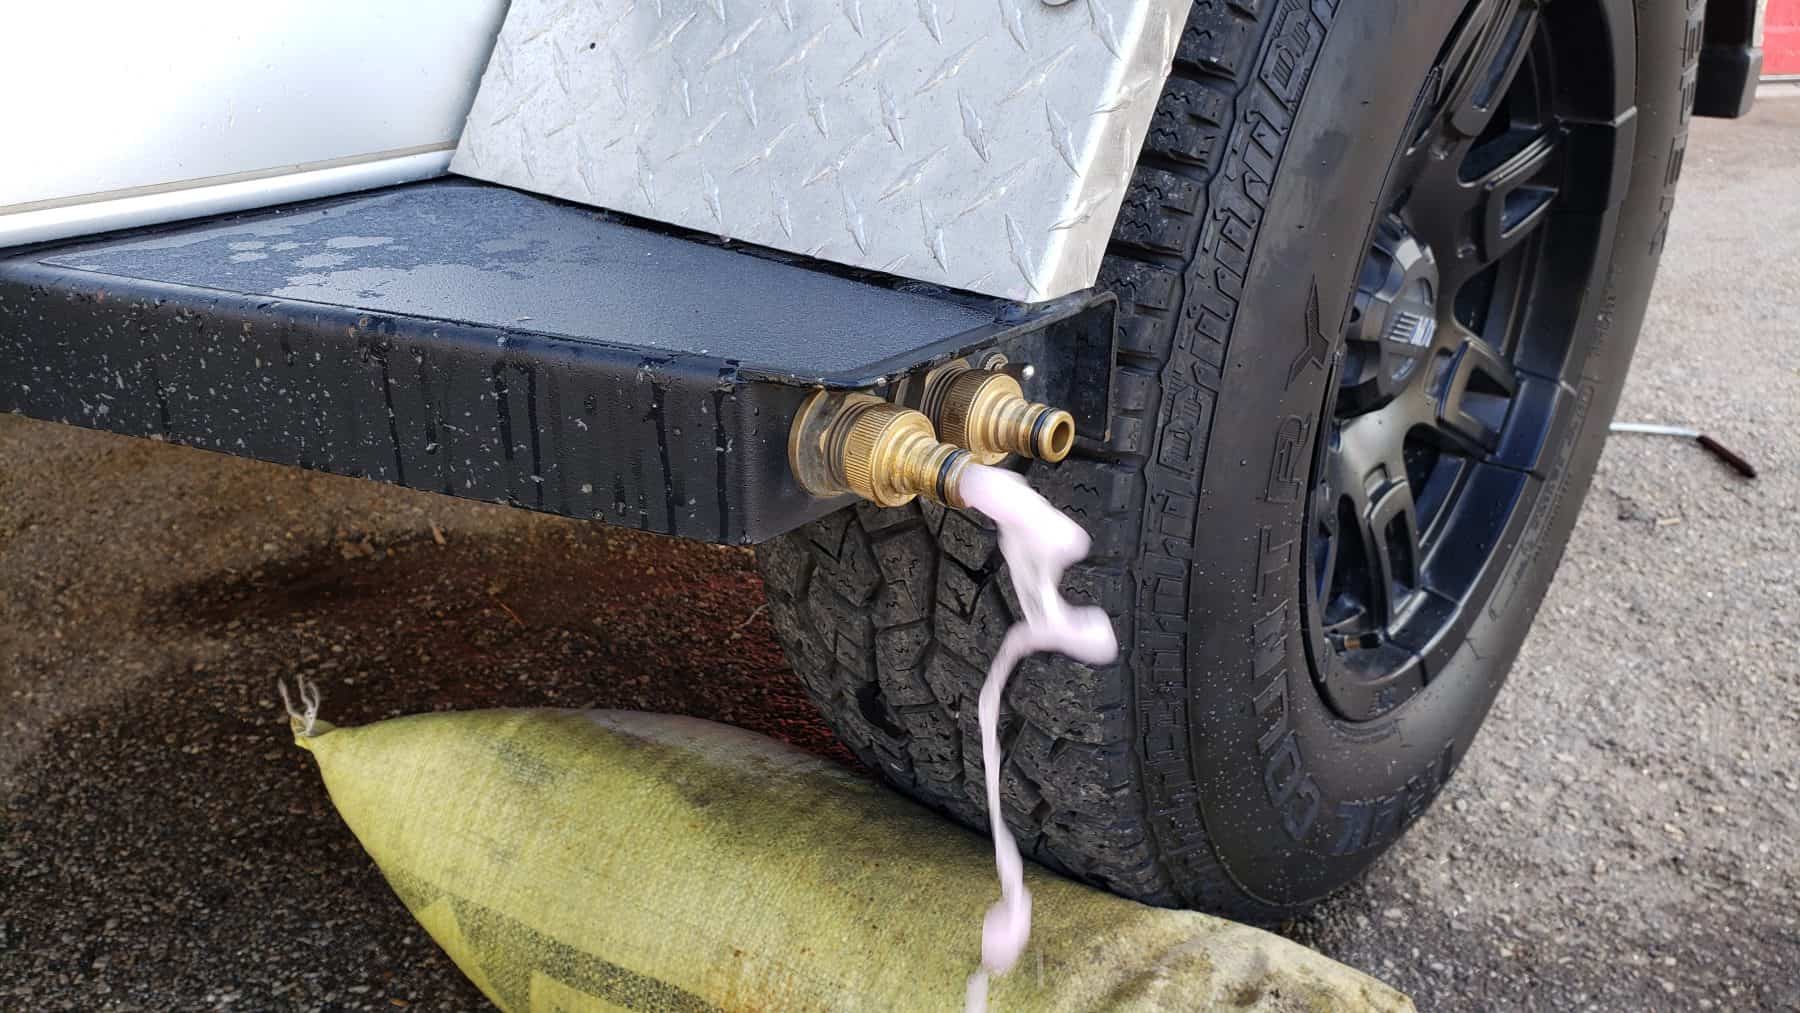
At this point, the antifreeze has filled the pump and lines, and is safe to leave sitting for the duration of the freezing months!
**Do not use your rear stabilizers to lift your trailer off the ground (we recommend trailer levelers, rocks, curbs, etc.)
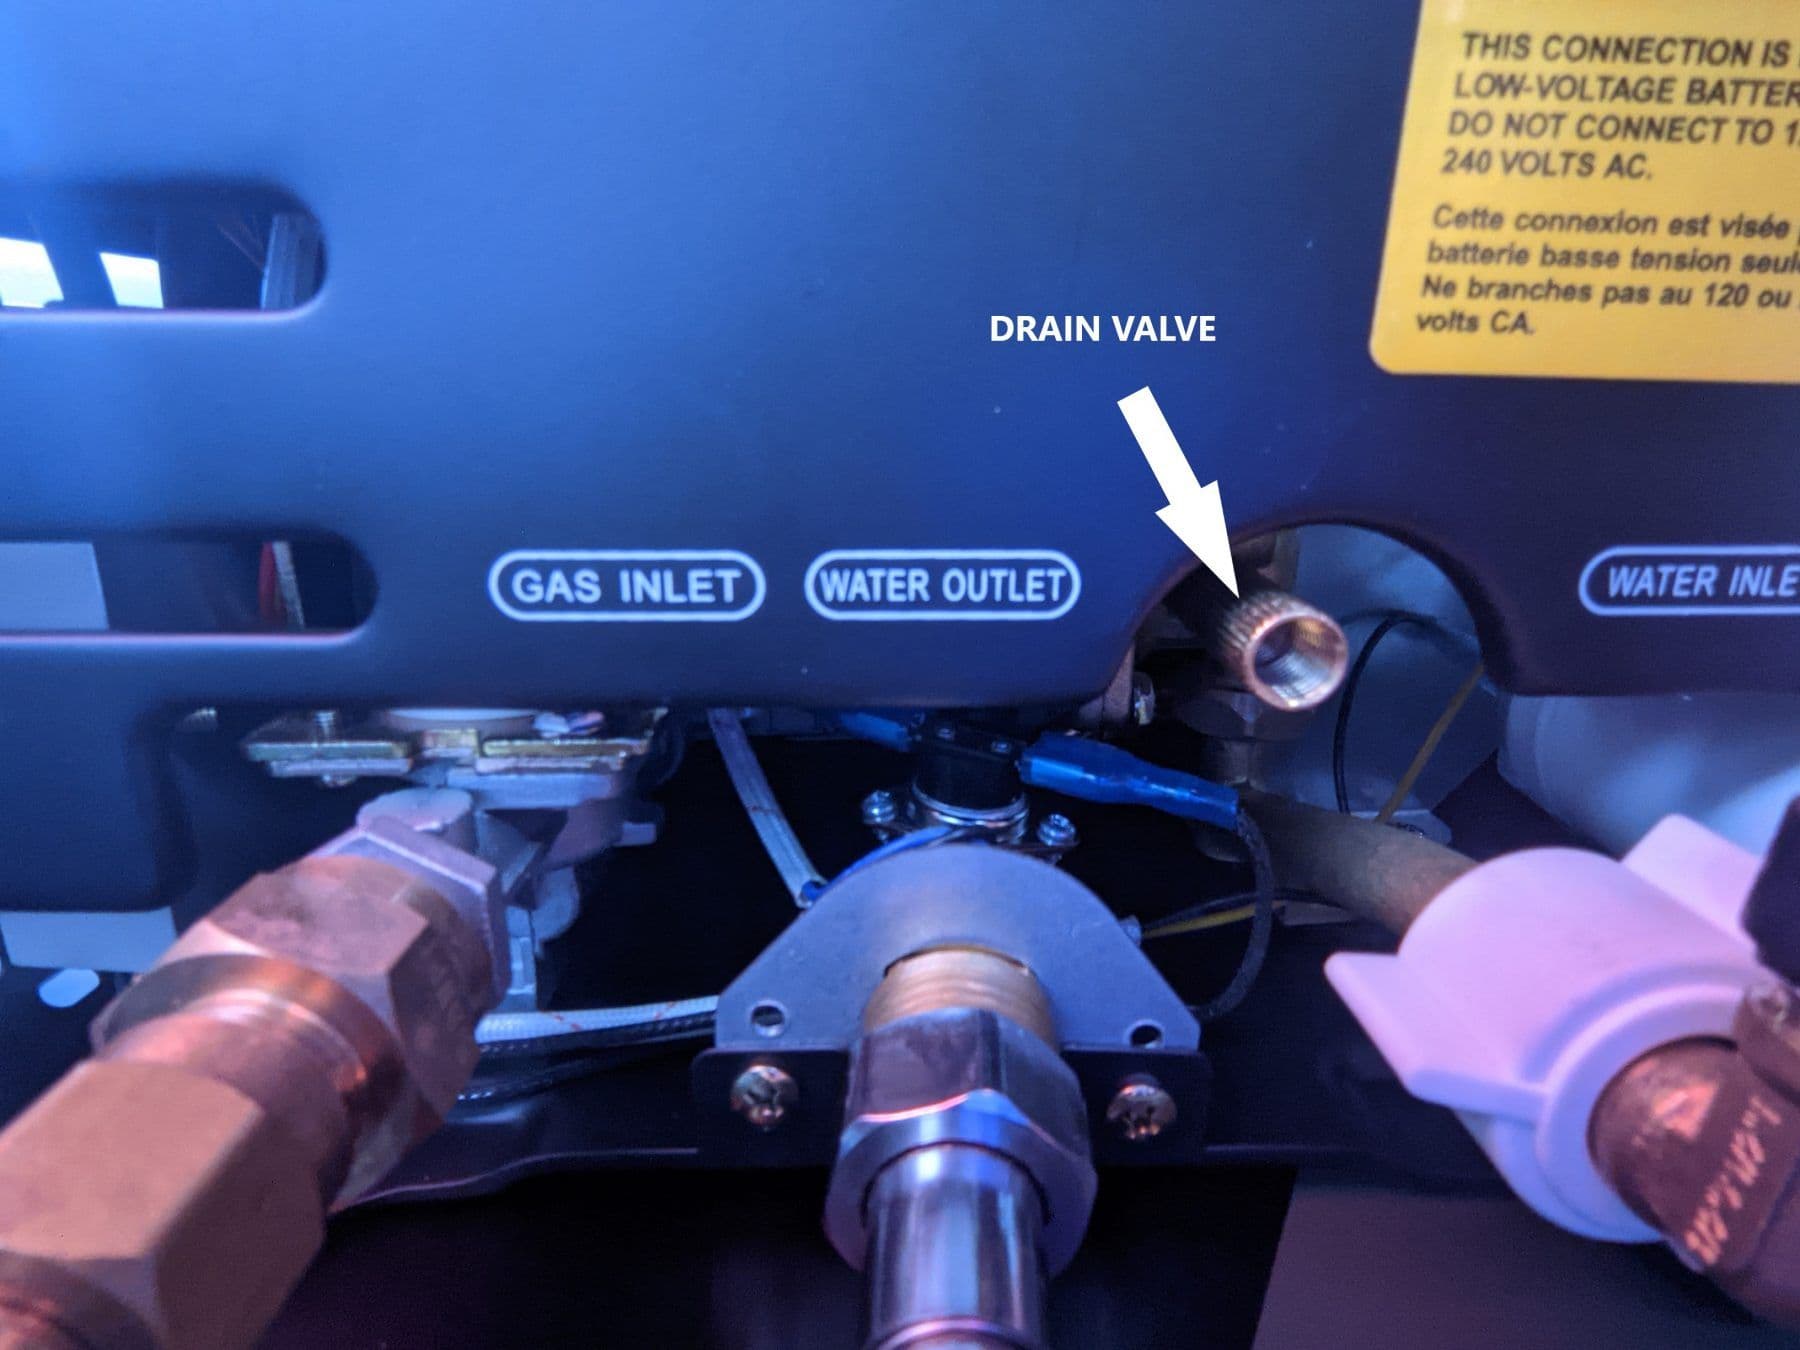
Water Heater Winterization:
If you have the water heater upgrade on your Escapod, you’ll want to follow a few easy steps to winterize.
1. Disconnect the water inlet and shower hose from the bottom of the appliance. (Not shown).
2. Loosen the drain valve from the bottom of the water heater, but be careful not to unscrew it completely as it can be challenging to reinstall.
3. Allow the water to drain out completely. There won't be much.
Ensure you follow this step - the warranty is void if the damage is caused by freezing water.
Air Cooling Unit Winterization
1. Drain the water from your system by simply running the unit until the low water indicator comes on and both pumps automatically shut off. This is recommended when your Fresair will not be in use for an extended period of time, even when it's not below freezing.
Come spring, you’ll need to sanitize the system before use. Follow these steps to ensure your water system is ready to go! As we get our rental fleet up and running in the spring, we’ll repost this with a video for simplicity.
De-winterizing and Sanitizing for Spring:
1. Follow the 'Prep' process (outlined above) to drain as much of the antifreeze out of the tank as possible.
2. Hook a water source to the input valve (right side) and fill the tank with fresh water.
3. Close the input valve (right side), open the output valve (left side), and empty the entire tank.
4. Gravity feed 1/4 cup of household bleach into the tank using a funnel.
5. Remove the funnel & reconnect to your water source.
6. Fill the remaining tank with fresh water.
7. Let bleach & water mixture sit for 12 hours.
8. Finally, drain & flush the tank (Repeat as needed until the smell of bleach is no longer detectable in the water flow).
If you have any questions about this process, please email our support team!
Stay warm!