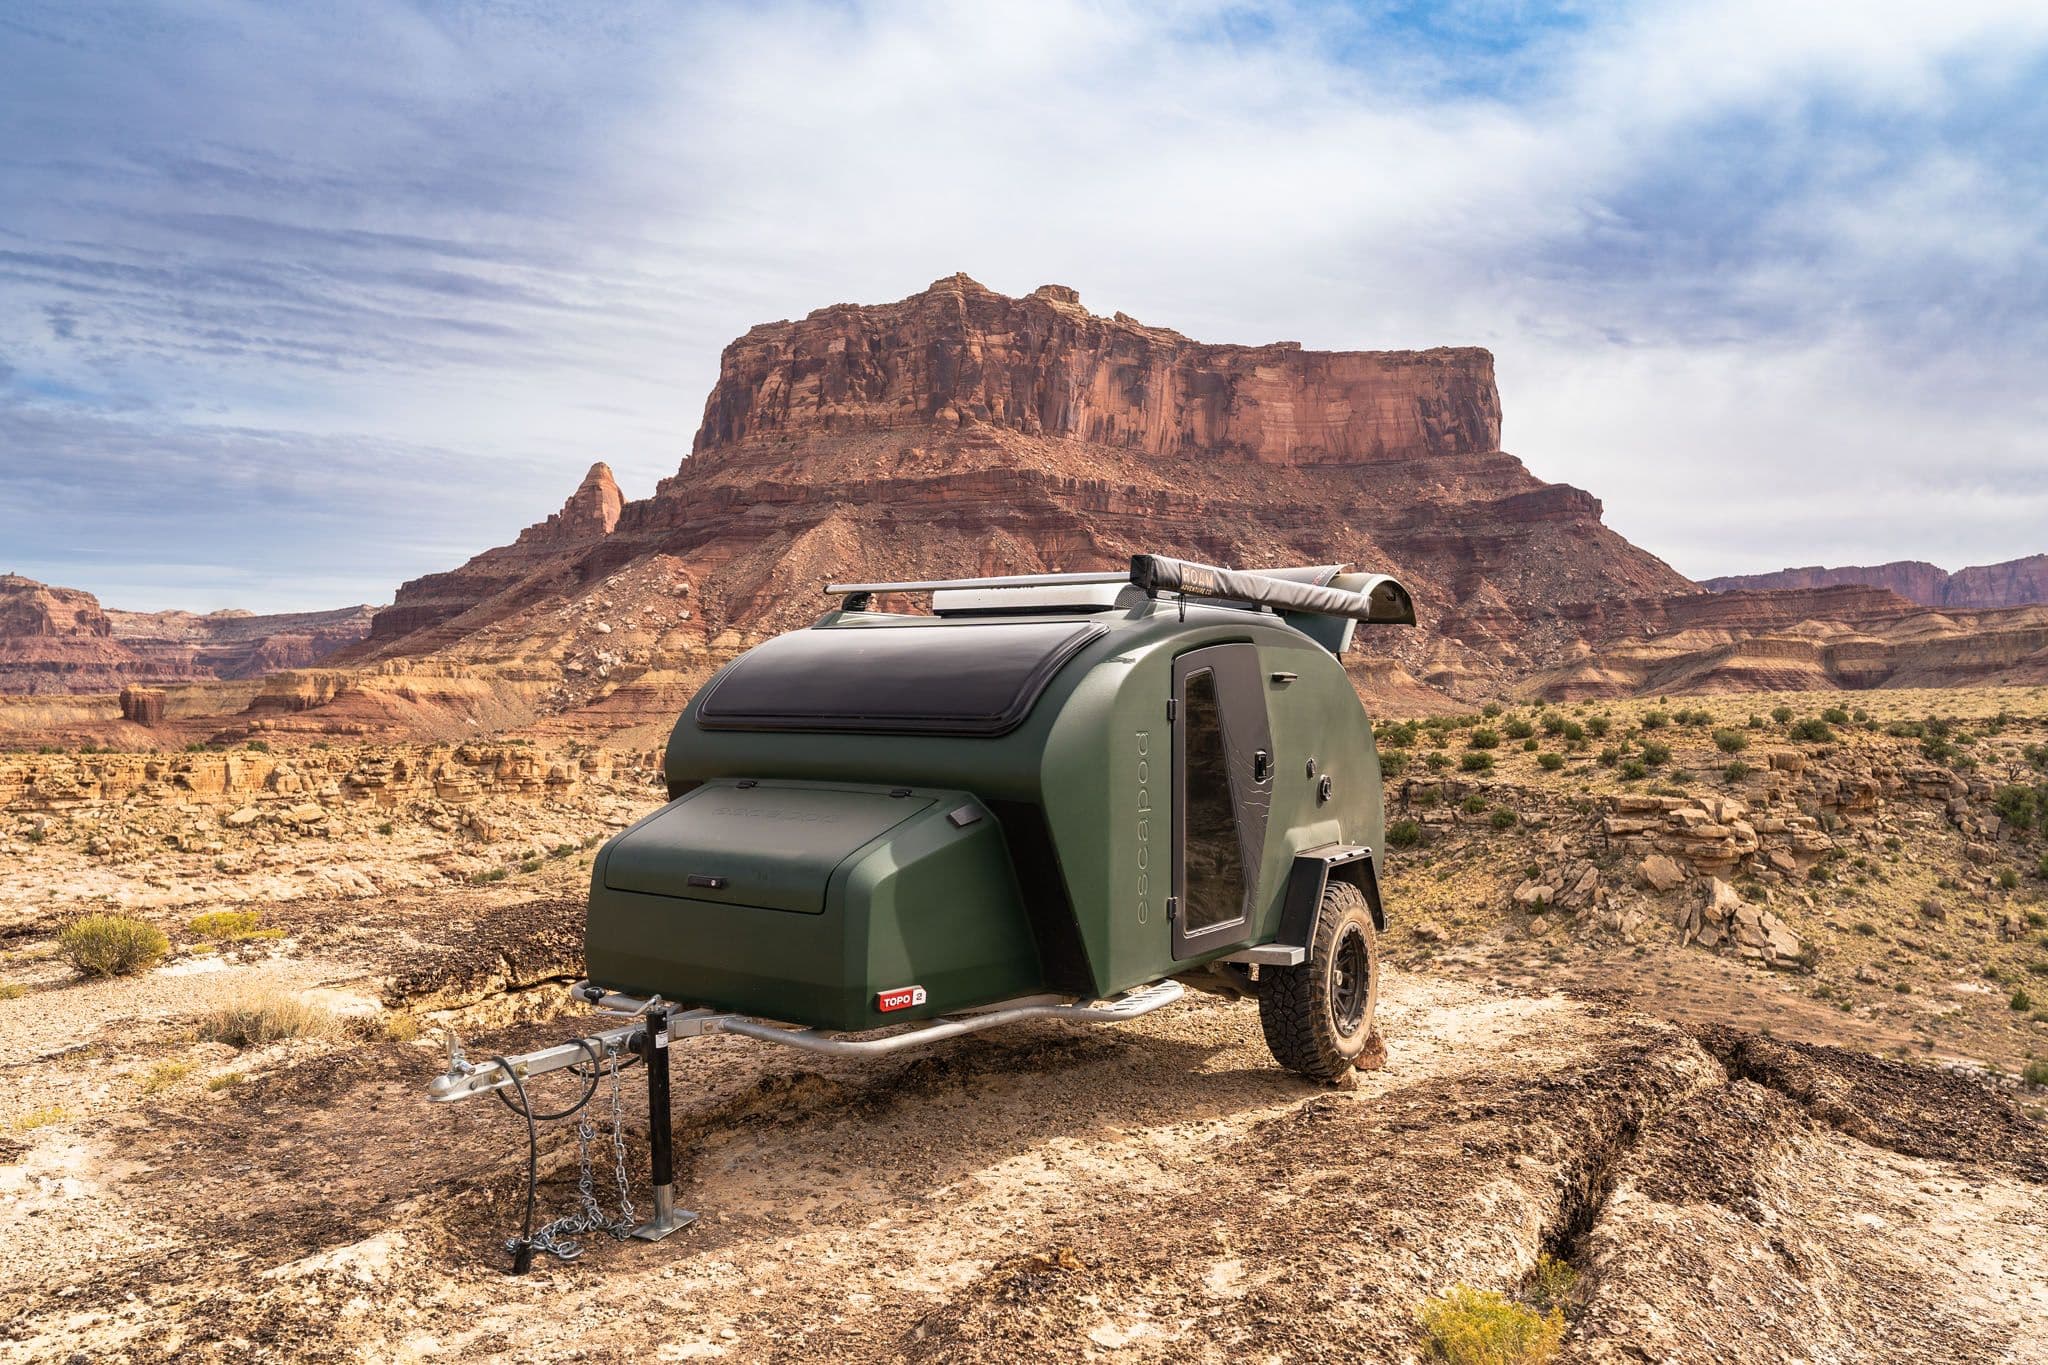
Exploring the Original TOPO Series Build Process
In 2016, Escapod founders Chris & Jen Hudak built the first Escapod off-road trailer in a garage. 5 years, 2 buildings, and 40 employees later, the process for how we build an Escapod trailer has evolved quite a bit. With an unwavering commitment to hand-build each Original TOPO trailer, our process is intricate. Keep reading to learn about the Original Topo Series build process.
Assembly Prep
The first step in creating an Escapod is building the frame. The Escapod's foundation is the frame, so it’s imperative that it's crafted to perfection. Our fabricators weld custom laser-cut 2” x 2” steel frames at our shop in Coalville and then send them to Salt Lake City for galvanization. Galvanization is a chemical process in which our frames are immersed in molten zinc. This ensures that the steel will stand up to the elements over time.
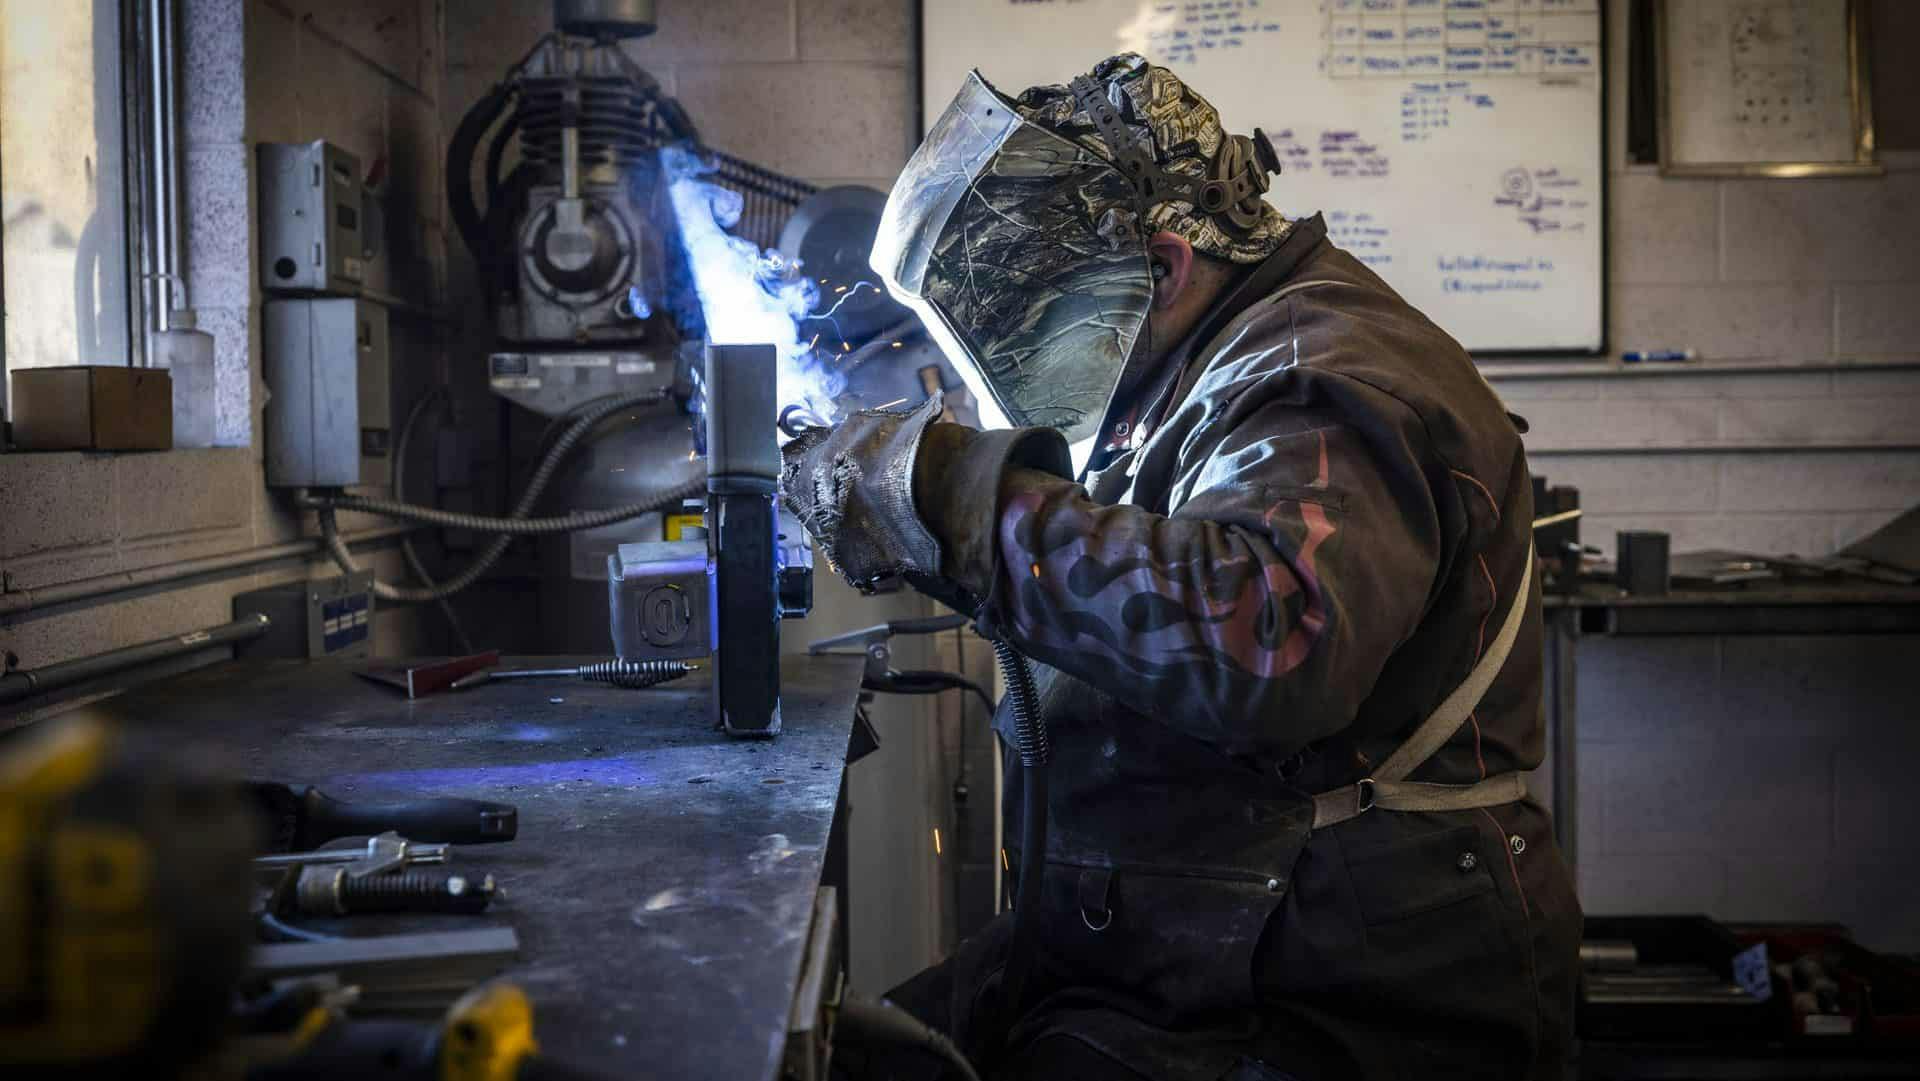
Welding the Original TOPO's 2' x 2" Steel Frame / Photo by Jay Dash
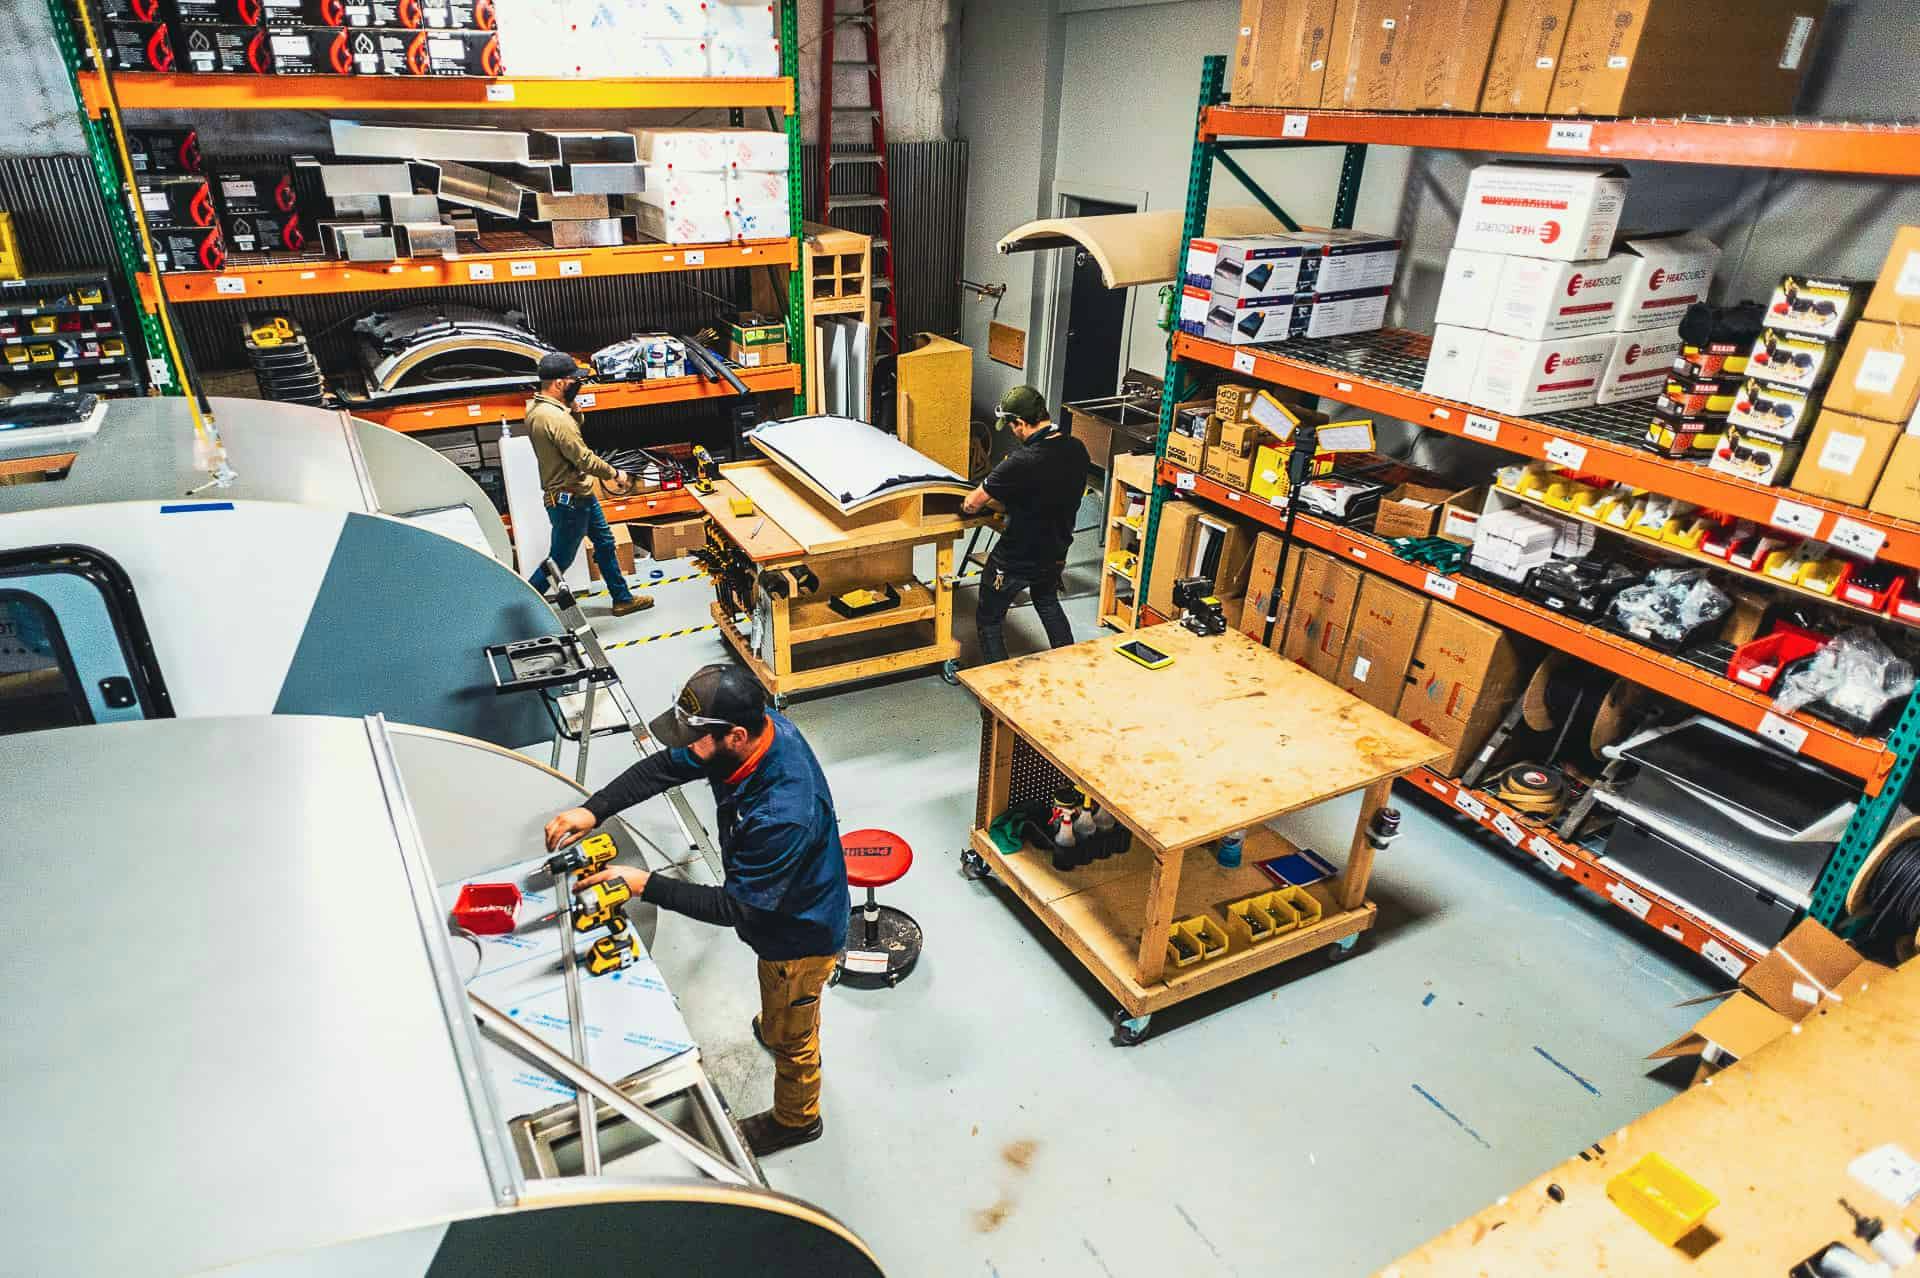
While the frame is being welded, our CNC shop simultaneously prepares the birch and HDPE subassemblies for the body and cabinet structures. This includes cutting materials on the CNC machine, finishing the raw edges, and assembling the cabinet & headboard structures.
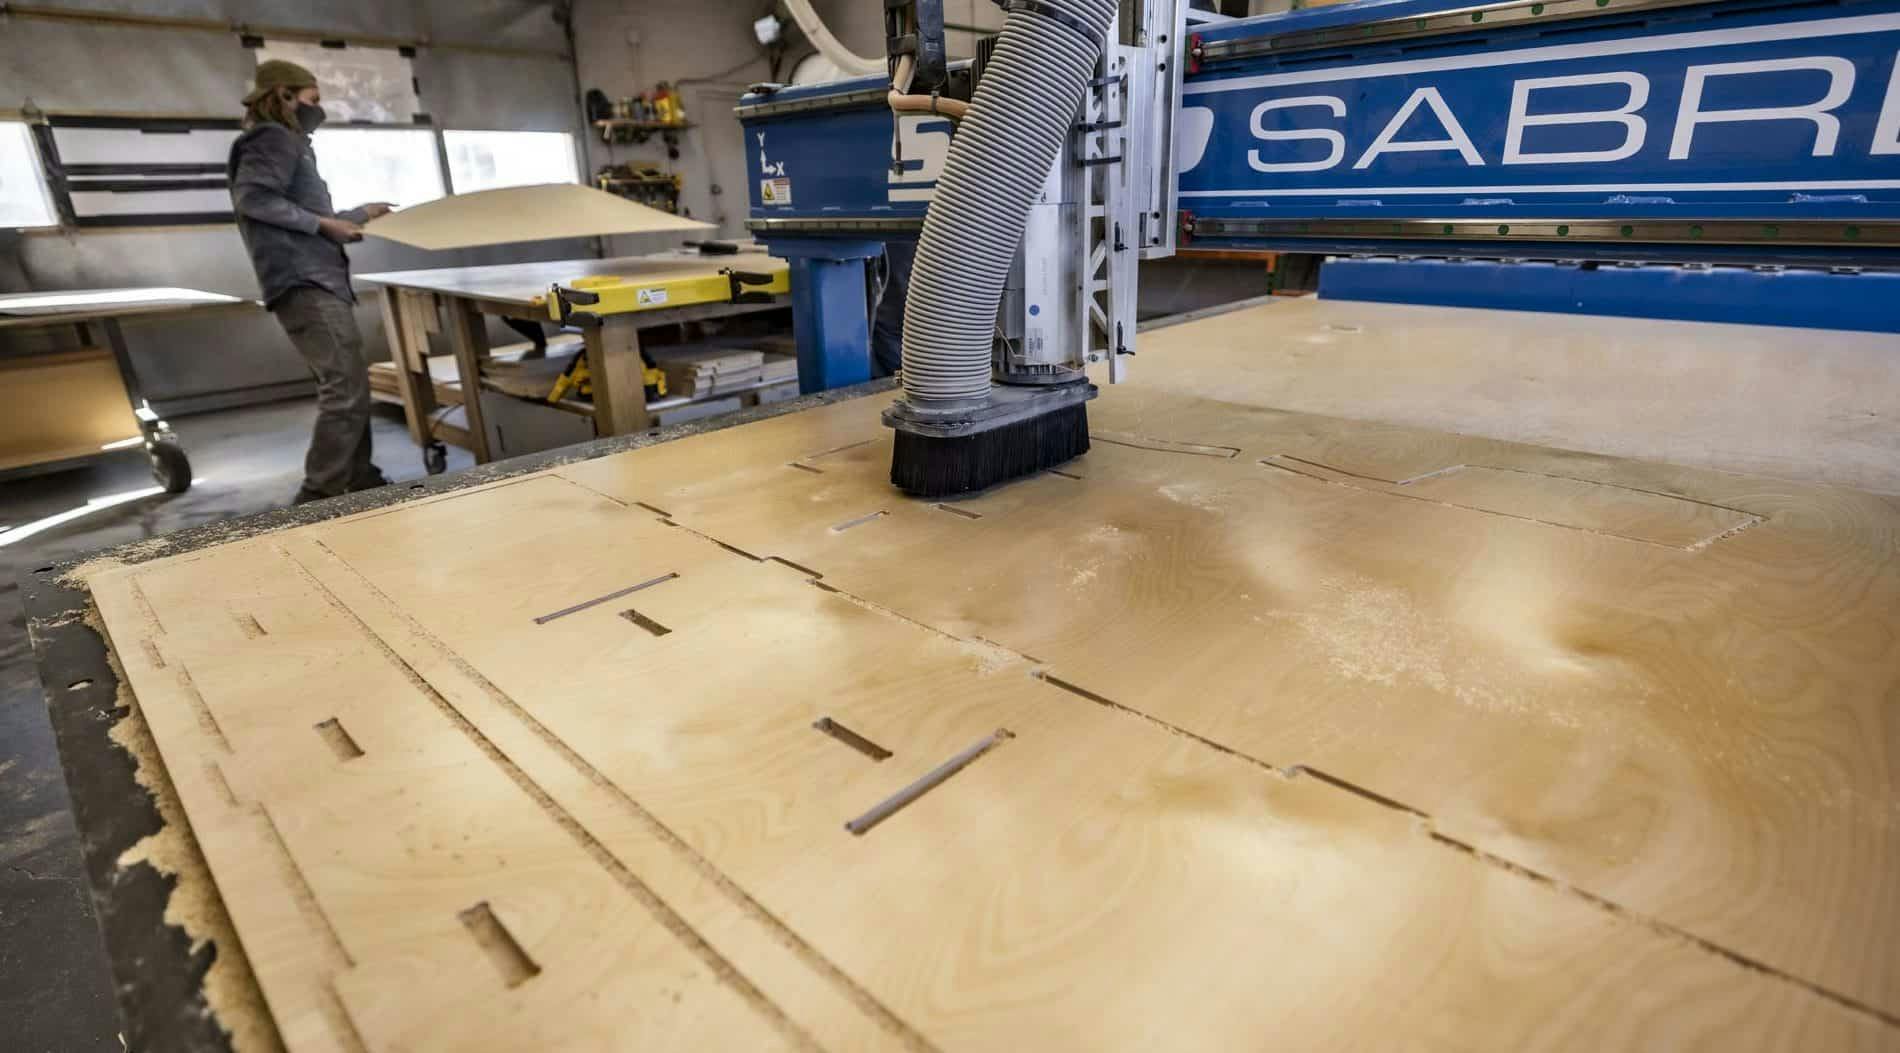
CNC Machine Cutting Birch Cabinet Structures / Photo by Jay Dash
Once the frame returns from Salt Lake City, it’s ready to hit our main assembly shop, which is where the trailers come to life! The main shop has 4 stages of production and one last stop for final inspection. Trailers start in Bay 1 and progress through the production line until they reach Bay 5. Here’s a bay-by-bay outline of what happens at each stage:
Bay 1
The assembly process begins in Bay 1. This is where the craftsmen construct the trailer skeleton. First, the craftsmen attach the suspension to the bare frame. Once that’s done, we lay a sheet of heavy-duty RV underliner fabric across the top of the frame to protect the body from the elements.
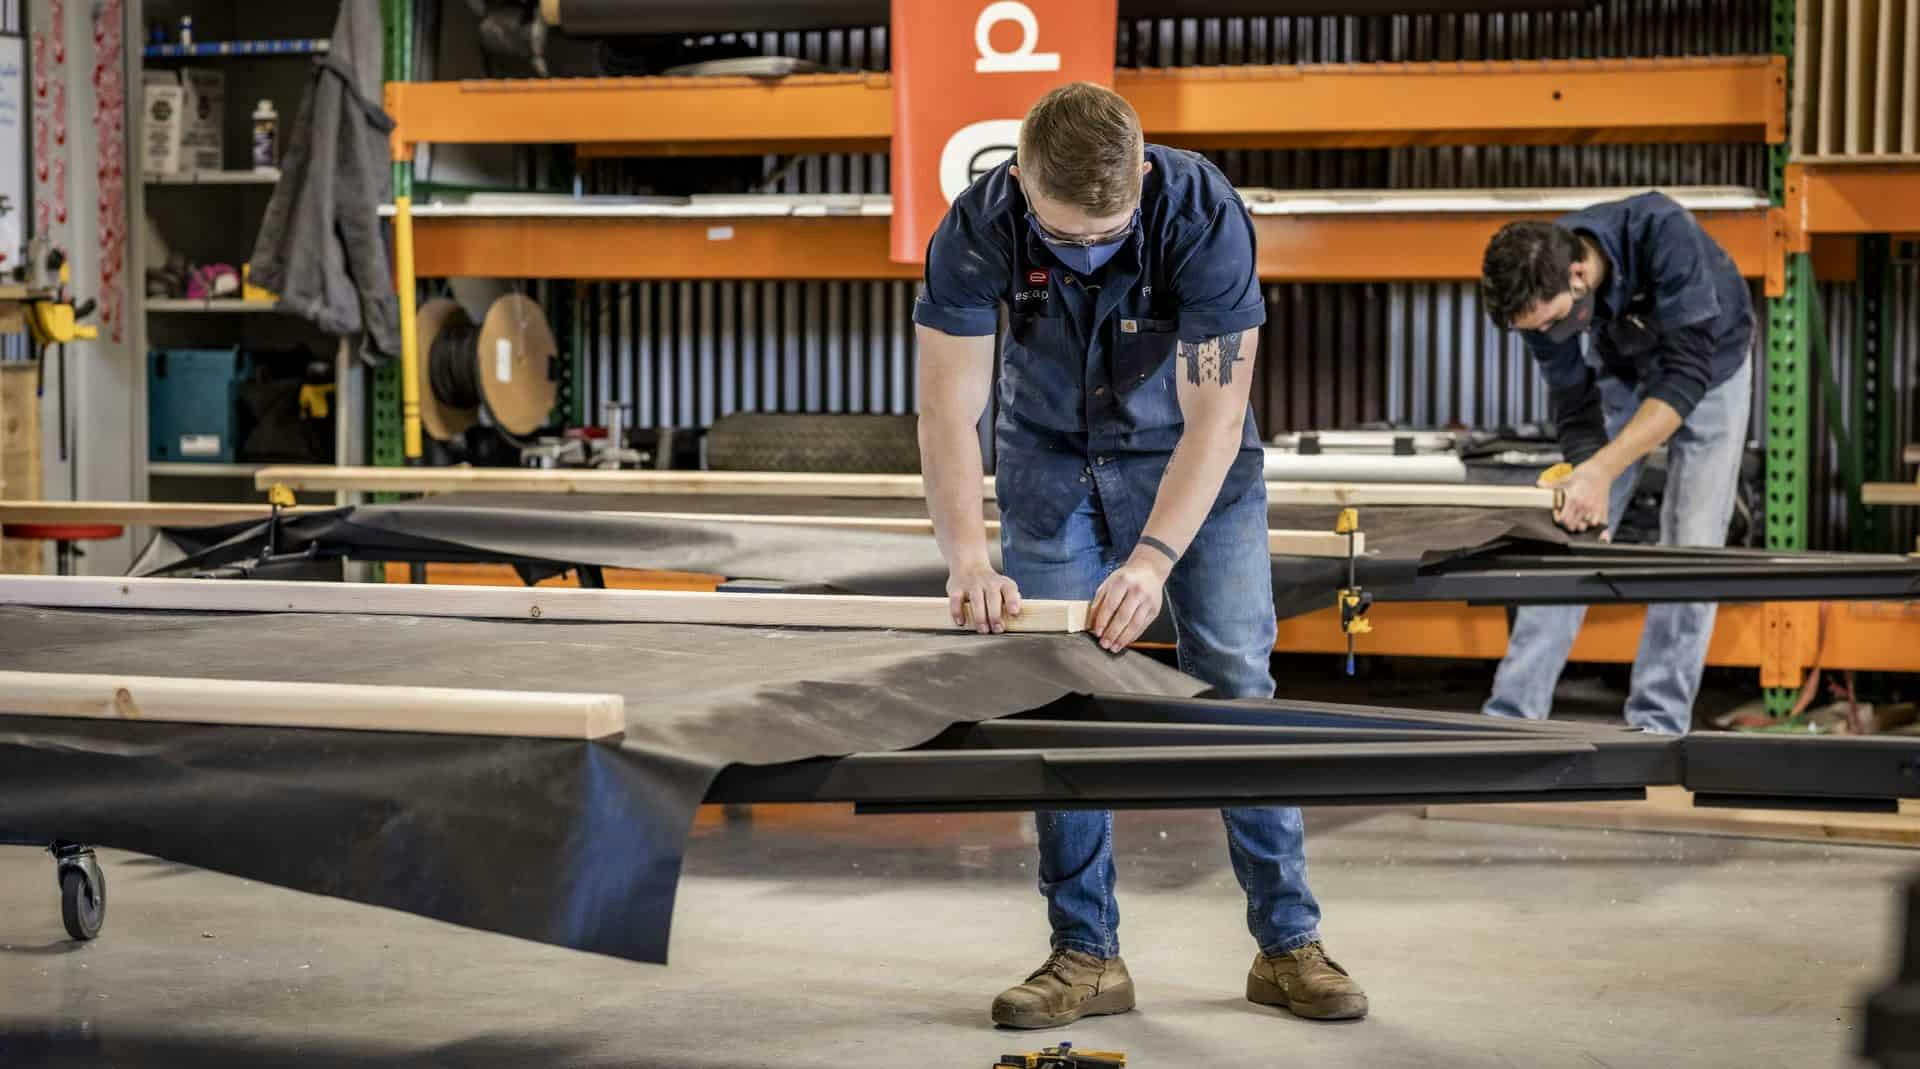
Laying the Underliner Fabric / Photo by Jay Dash
Next, the team assembles the sidewalls & installs the standardized wiring harness. Finally, the team builds the internal skeleton of the body, which includes bolting the floor to the frame, building up the sidewalls, and installing the mortise-and-tenon cabinet structure.
Bay 2
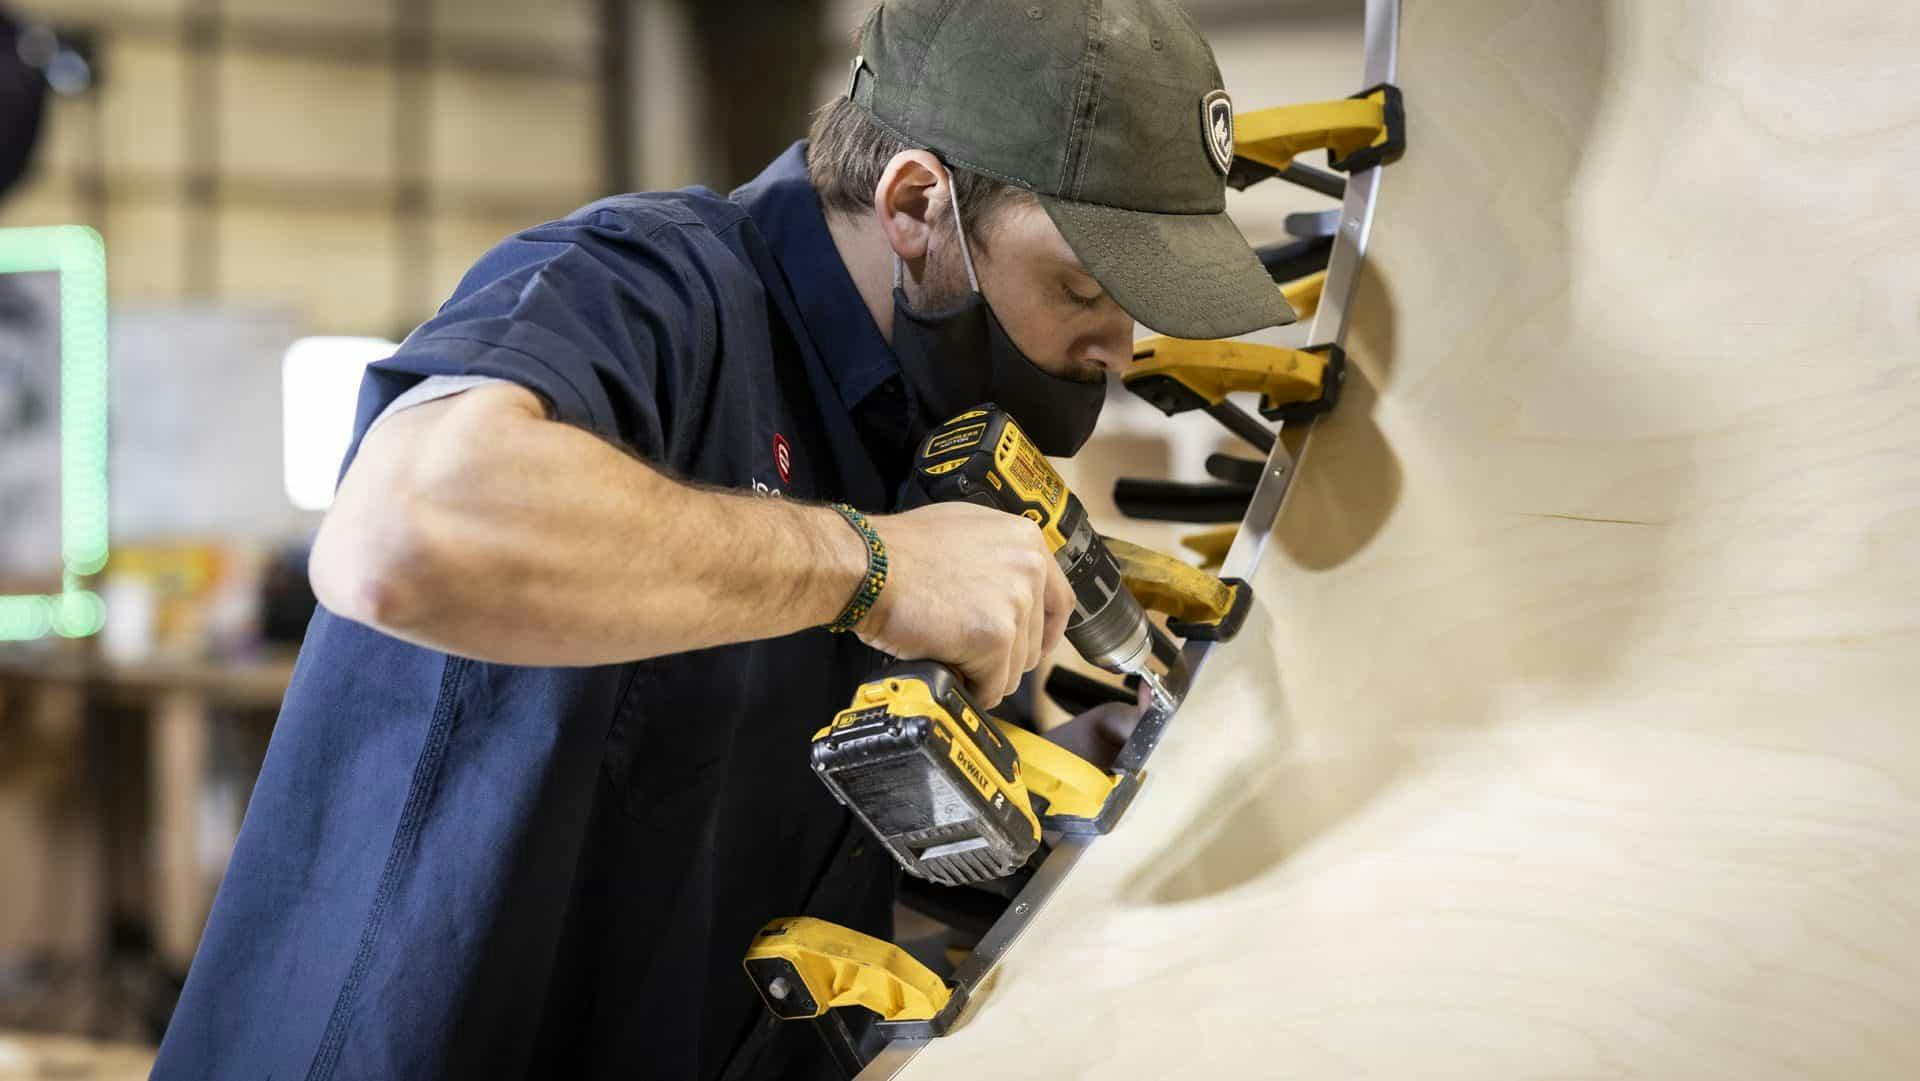
Bay 2 is where our trailers actually start looking like Escapods. Here, we install the ceiling cross-members & ⅛” birch interior panels. Then, we insulate the roof of the trailer and line the roof with another ⅛” of birch. Finally, we lay down a sheet of powder-coated aluminum to the roof.
Installing the Interior Roof / Photo by Jay Dash
Simultaneously, our team is applying one of seven vinyl color options to anodized aluminum sheets in the Clean Room. Once the vinyl is on, the team will affix these sheets to the CDX sidewalls. Next, the craftsmen install the stargazer window & the side entry doors.
This bay isn’t just about looks, it's also about functionality. Our Bay 2 craftsmen finish up all the electrical components by tying out the wiring into the fuse box. They’re also responsible for installing the galley drawers, table, and cutting board.
Finally, the Bay 2 craftsmen apply our triple-redundant waterproofing of the roof/wall seams. They apply vinyl tape, putty, edge trim, and weather-stripping along all edges of the pod. By the time the trailer leaves Bay 2, you can tell it’s an Escapod but there’s still work to be done.
Bay 3
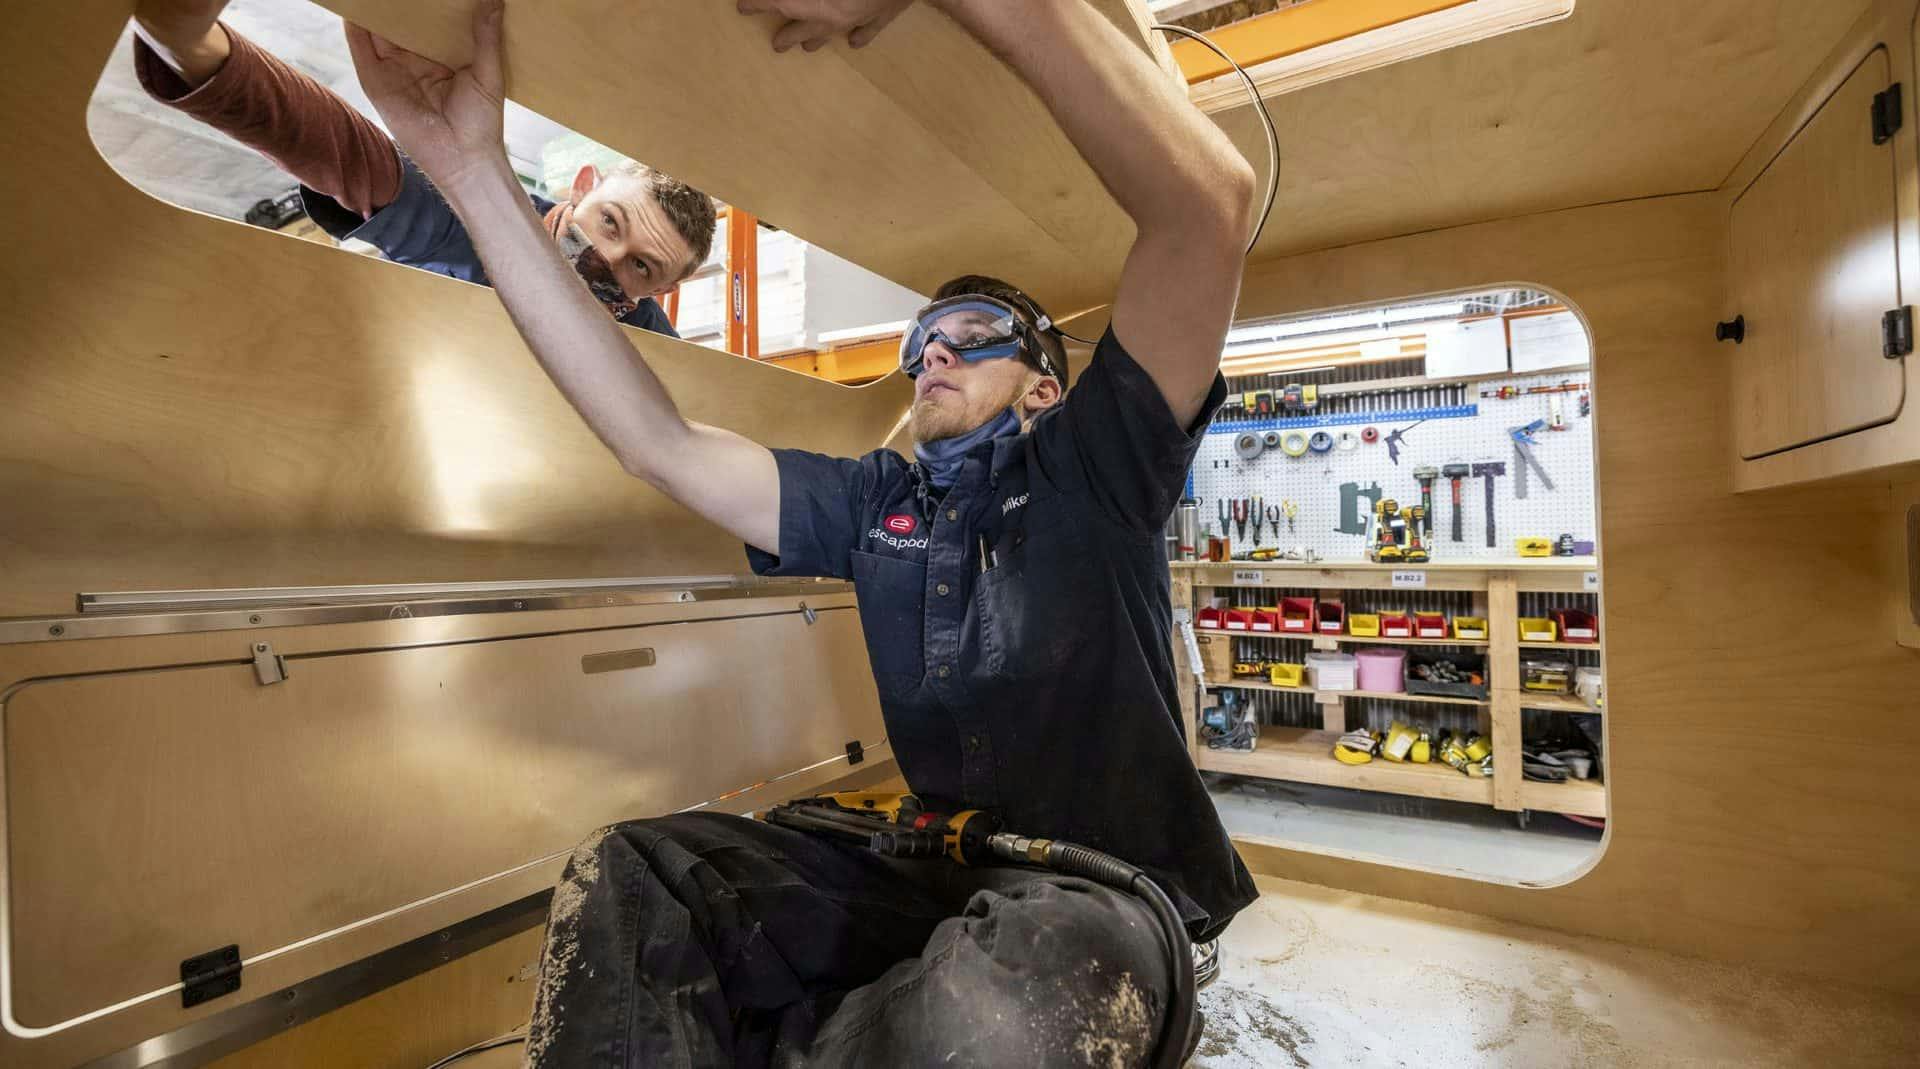
Bay 3 is one of the most complex bays, responsible for all of the mechanical systems. Bay 3 installs the stove & propane tank and runs the gas lines. Meanwhile, the assembly team installs the locking slide-out drawer in the galley (and tongue box if selected) and installs the batteries into the unit.
Constructing the Original TOPO's Hatch / Photo by Jay Dash
The craftsmen in Bay 3 also run the plumbing for the water system, install water heaters, propane heaters, fans, and air cooling units. As if that’s not enough, they also handle the intricate task of building & installing the hatch.
Bay 3 is the master at making sure camping in an Escapod is just as comfortable as sitting on your couch at home. So, the next time you're taking a warm shower on the side of your pod, you have Bay 3 to thank.
Bay 4
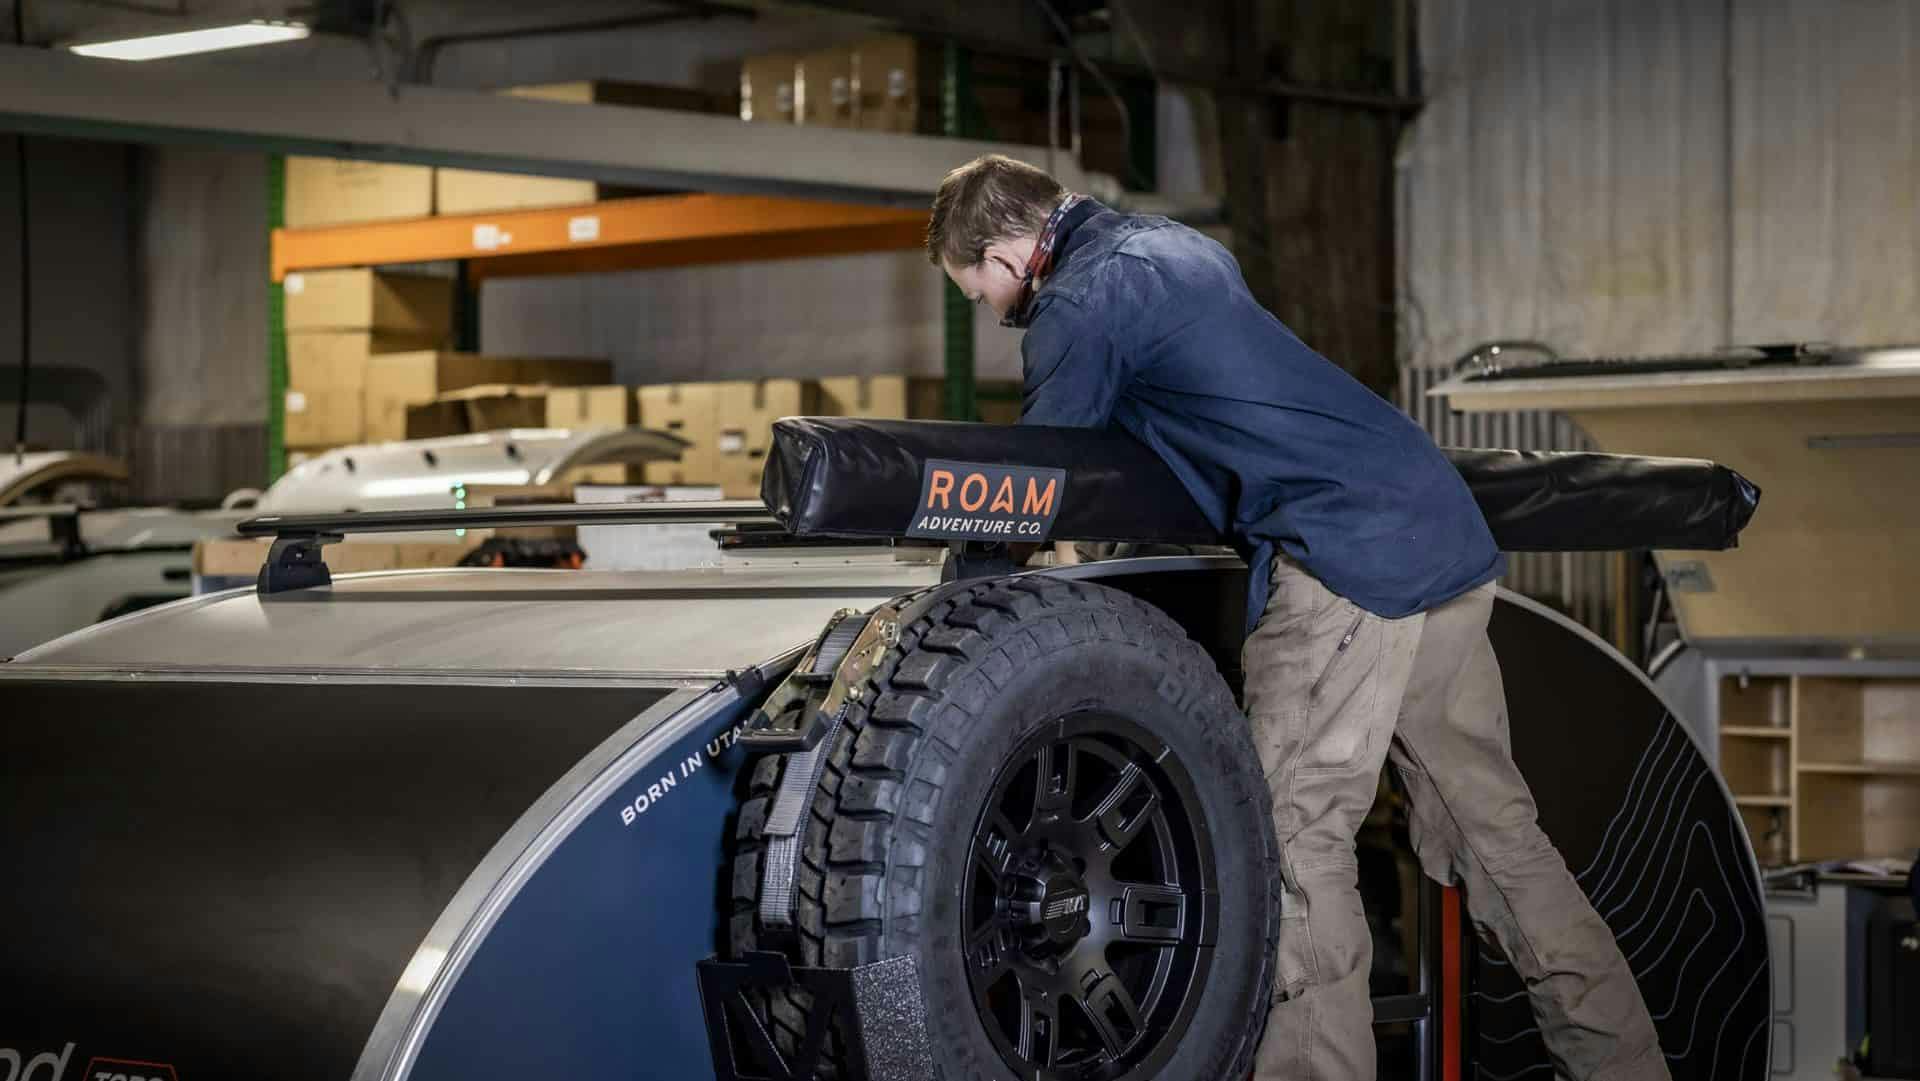
Bay 4 is where the trailers take on their personalities. When camping, everyone has different needs and wants. Whether it’s adding a rooftop tent, upgrading the YETI to a Dometic fridge, or swapping out the tires for slightly bigger ones, Escapod allows customers to personalize their trailers to fit their preferences. Bay 4 is responsible for installing these custom options.
Installing the ROAM Adventure Co. 6.5' x 8' Awning
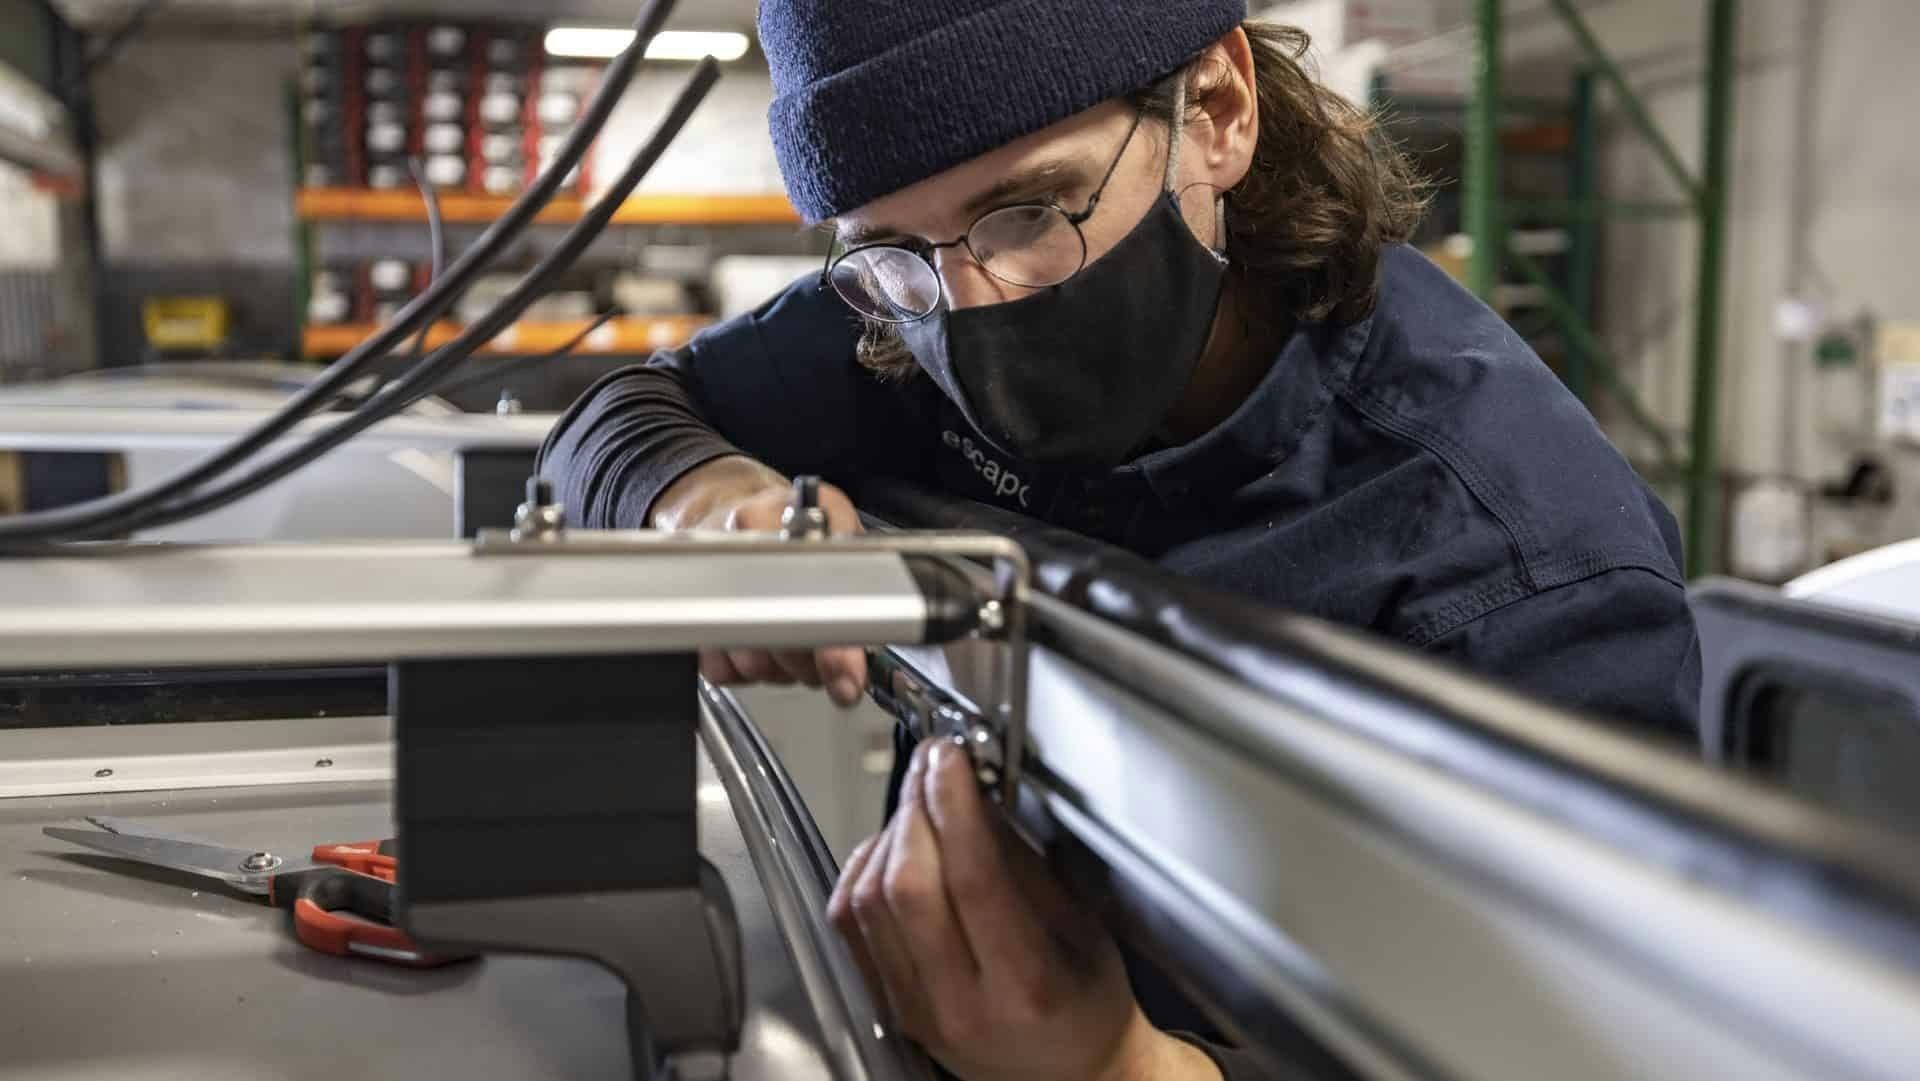
In addition to personalizing each Escapod, the Bay 4 craftsmen install the Gardit-coated fenders, multilevel table mounts, crossbars, awnings, and wheels & tires. Bay 4 applies one final application of silicone to ensure water-tightness. They also align all Freeride Suspension Systems so they're ready to hit the trails.
Bay 5
Bay 5 is the final stop for our trailers before we send them off with their new owners! This is where they undergo rigorous quality control including testing the silicone seals for waterproofing, double-checking suspension torque, conducting full electrical system run-throughs, ensuring accessory functionality, and so much more! Finally, we polish the trailers so they look nice and fresh for customer pick up.
Double Checking the MaxxAir Exhaust Fan / Photo by Jay Dash
Escapod is proud to provide trailers that are hand-made in the USA! We strive to keep as much of the manufacturing process in-house as possible. For the few features we can’t build ourselves, we look to other local Utah vendors that we know and trust.
For a visual experience of the build process, check out the Escapod Shop Tour video where co-founder, Chris Hudak, gives a walk-through tour of our production facility. Craving more than an online video? Come out to Coalville, UT where you can schedule a shop tour or trailer viewing and get a first-hand glimpse into how the magic happens.